Guest Blog by Josh McCabe
Banff National Park is jaw-droppingly beautiful, but then September arrives, the larches turn golden, and somehow the views get even better. In this guide, I’m going to show you when I think you should visit to catch the best fall colours, the photography gear I’d bring, what to wear to stay warm, and five of my favourite locations for fall photography. Some are easy pull-up-and-shoot spots. Others will make you work for the view.
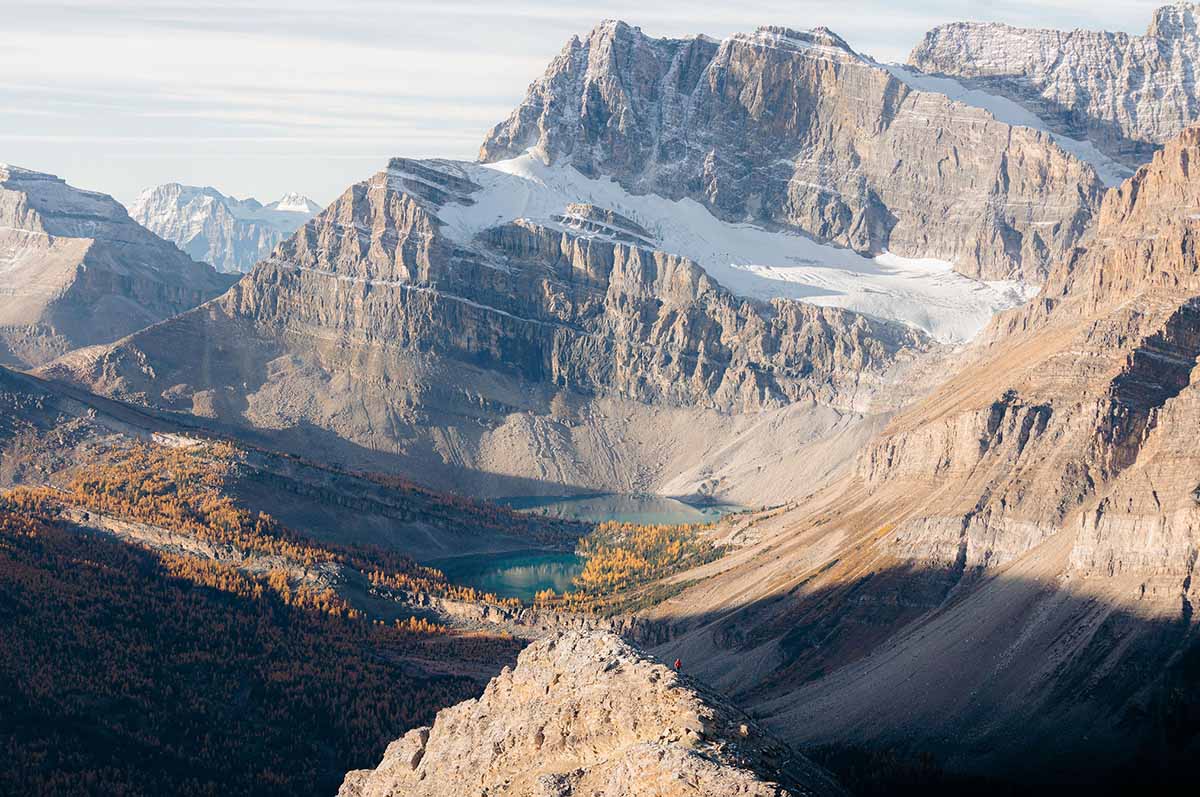
Larch Trees
Before we go any further, I need to tell you about one of the reasons photographers fly from around the world to visit Banff in the fall: larch trees.
Larches are unique because, unlike other conifers, they lose their needles every fall. In Banff, before they drop, those needles turn a brilliant golden yellow for a short window in late September and early October, creating one of the most spectacular displays of autumn colour in the Canadian Rockies. For photographers, it’s one of the best times of year to visit.
Every year, there’s plenty of speculation about exactly when the larches will peak. The timing can vary depending on weather, elevation, and tree location.
When should you arrive?
From my experience, I’d aim for the last week of September. If I were booking a trip specifically for larches, I’d try to be in the Rockies from around September 24th to October 2nd. They almost always peak on September 28th.
I’d much rather arrive a little early than arrive too late. Catching the larches as they’re turning golden is far better than finding a forest floor covered in needles and bare branches.
Photography Gear to Bring
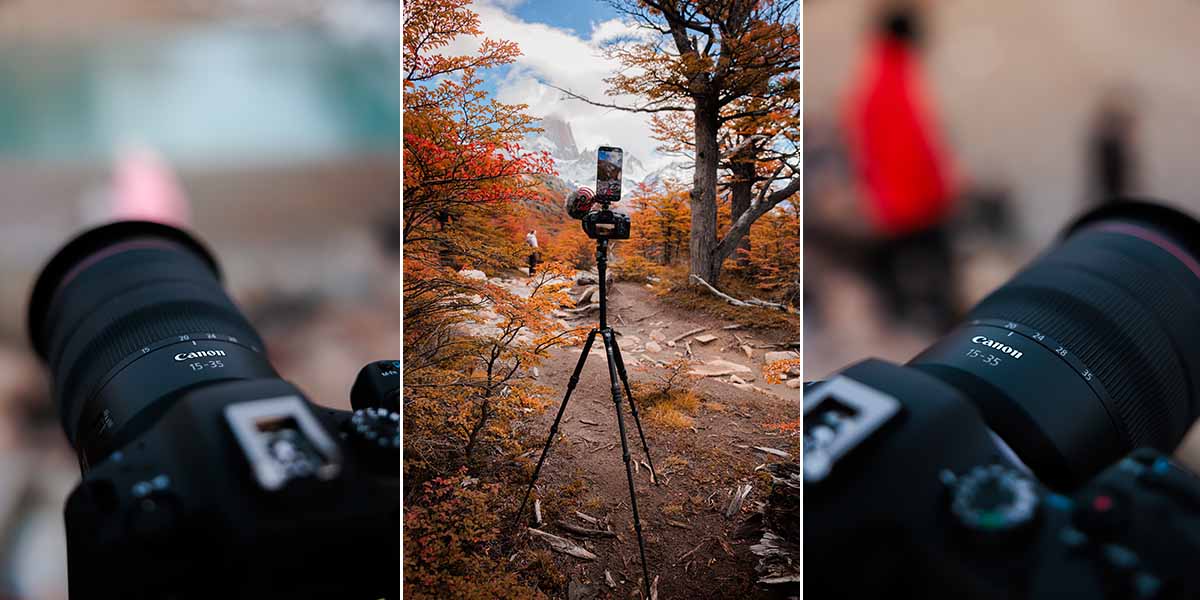
- Main Body: Canon R6MKIII: You will want a weather-sealed camera to handle the wild weather in the Rockies. This camera is a hybrid and produces stunning photos and videos.
- Canon RF 15-35mm f/2.8: At many of the locations you visit, the mountains will be right in front of you. A wide angle is a must for fitting them in.
- Canon RF 24-70 f/2.8: The most versatile focal range for Banff. This will likely live on your camera most of the time.
- Canon RF 70-200mm f/2.8: One of the most important lenses in the kit. This lens will let you capture some interesting compressed shots, bringing the right scale to these dramatic scenes.
- Canon RF 100-500mm F4.5-7.1 L IS USM: You won’t find a better place to capture wildlife than Banff. Grizzlies, Elk, moose, and birds of many kinds call this place home. This lens will allow you to safely admire and capture them from a distance.
- Peak Design Travel Tripod (Carbon Fibre): Lightweight enough to take on longer hikes and packs down surprisingly small.
- Filters - NiSi Variable ND, Polarizer, and Mist: If you plan to shoot video, you will need a variable ND to help control the light. This one also comes with a built-in polarizer and ¼ black mist, which removes unwanted digital sharpness and blooms your highlights, creating a dreamy look. Polarizer - I wouldn't shoot landscapes without one. It cuts harsh glare, brings the blue back into skies, and adds real vibrancy to colours.
- RODE Microphone: Essential if you're shooting video.
- F-stop Camera Bag: A weatherproof pack that protects your gear from the elements and is comfortable to carry for long hikes is a must.
- Ninja Ultra Monitor: This is a recent addition to my pack, but for video work, I do not know how I worked without one. Your compositions will improve when you view them on a properly sized screen.
- Important smaller items: Lexar Pro 256 GB, Lexar SSD, NiSi Lens Cleaning Blower, Spare Canon LP-E6P Batteries, Logiix Piston Power 20,000 mAh Power Bank, Peak Design Capture Clip.
Note on drones: Banff National Park and its surroundings, which are Provincial and other National Parks, have a strict no-drone policy with fines of up to $25,000 and mandatory court appearances. I would suggest leaving it at home. If you’re really wanting some aerial footage, you can book a helicopter tour or visit Abraham Lake, which is outside the National Park and offers some stunning views.
Location 1: Larch Valley
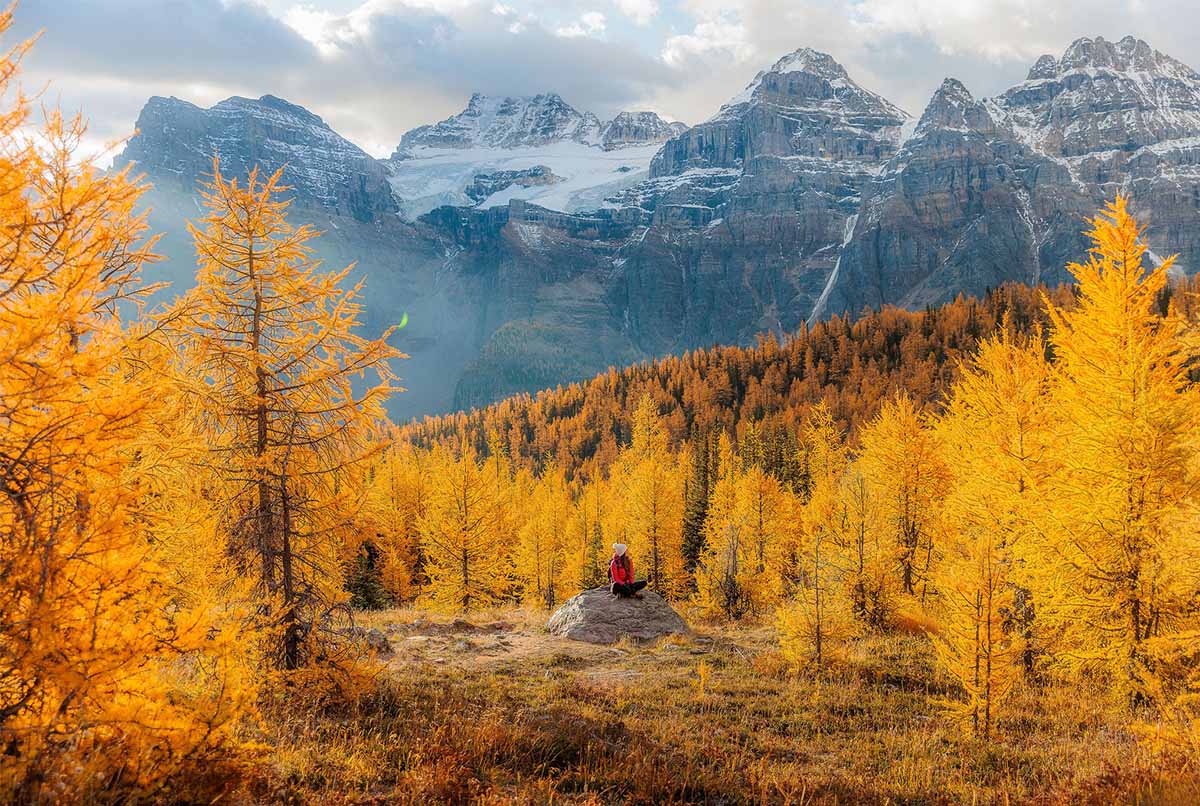
Heading up these switchbacks, you’re going to be questioning your life decisions until you arrive at this appropriately named valley, Larch Valley. This location sits above Moraine Lake. You cannot drive your own car here, so be sure to book either a Parks Canada Shuttle or a private bus.
For me, the larches are best shot when the soft, early-morning light reaches them, turning them on like a lightbulb. They glow, and the contrast of the cool blue glacier and mountains behind makes for amazing shots.
Location 2: Shadow Lake Lodge
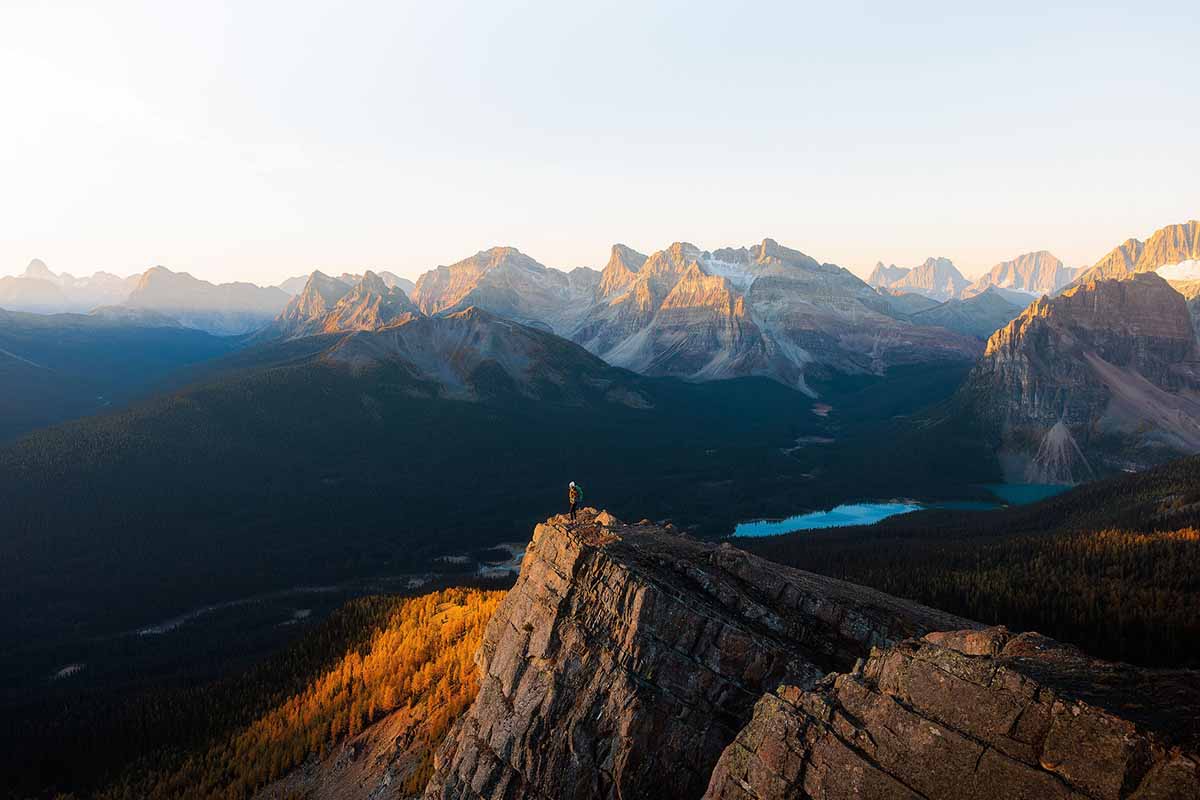
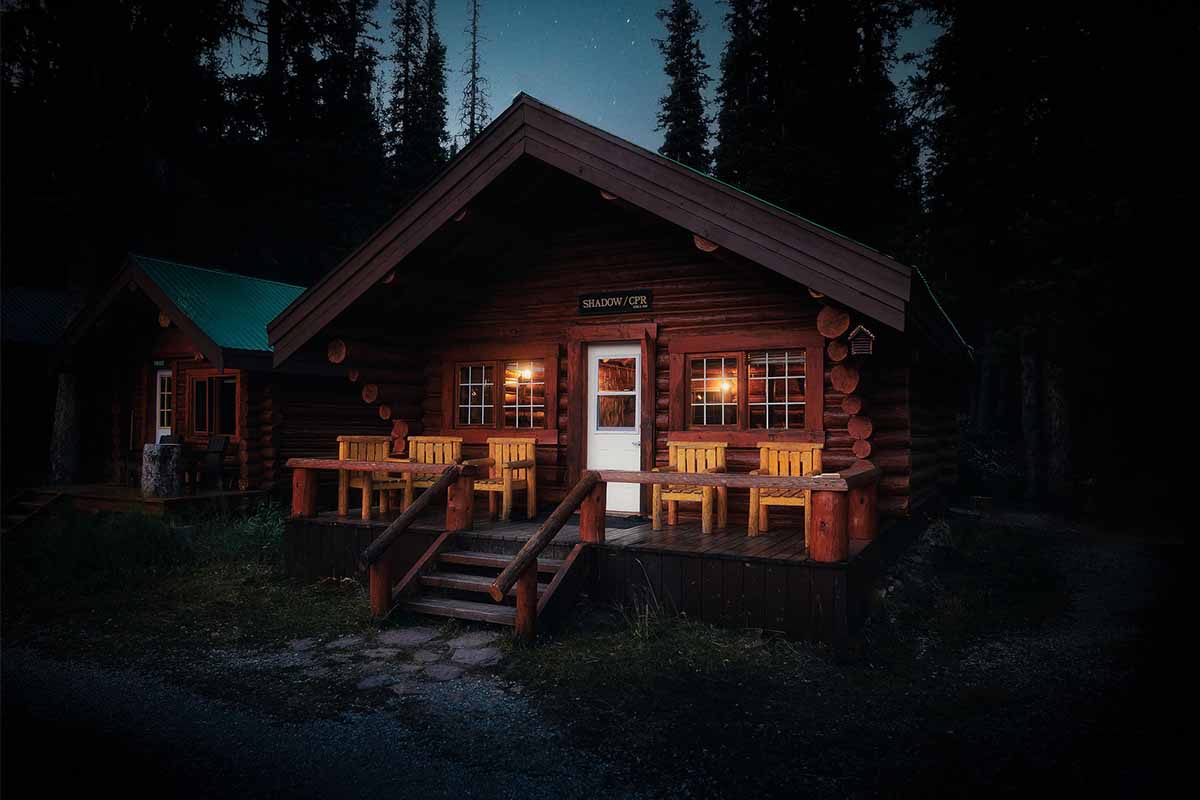
No trip to Banff is complete without a night spent in a backcountry cabin. The hiking options in the region here are endless. If you’re up for the challenge, I highly recommend a sunrise hike up Gibbons Pass to Little Copper. We went for sunrise and loved the light.
The hike to Shadow Lake Lodge itself is manageable, and staying at the lodge means you can keep your backpack much lighter. You’ll have access to a stocked kitchen, heating, and a mattress, which feels pretty luxurious after a day in the mountains.
Location 3: Bow Lake, The Icefields Parkway
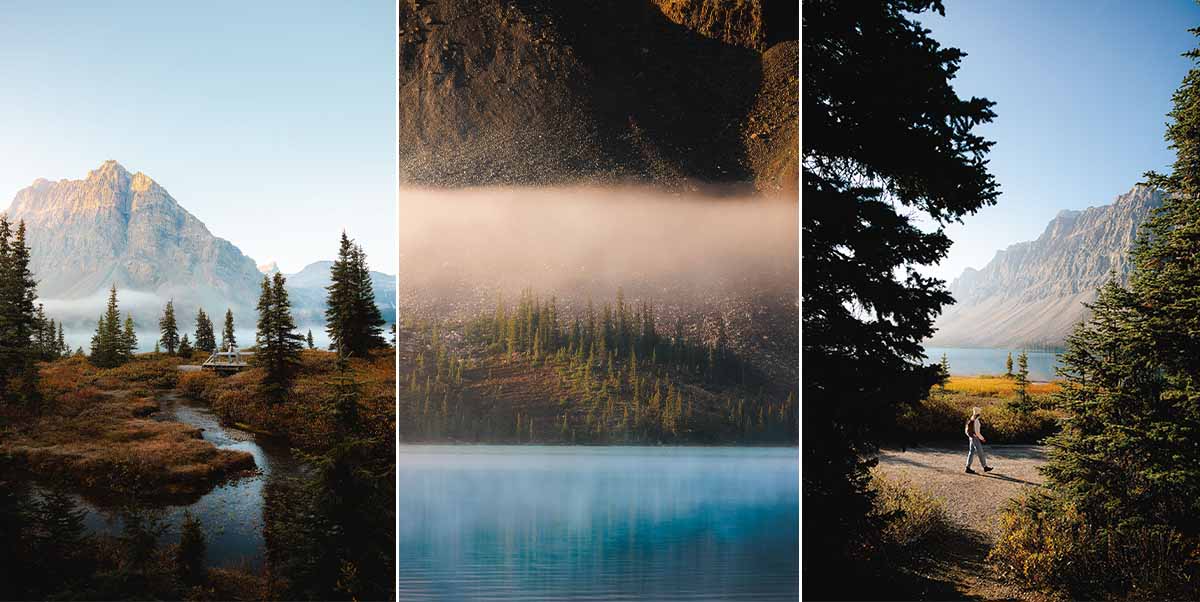
Alright, after those last two locations, our legs are going to need a break. So, here’s an easy pull-up spot with only 5-minutes of walking. Bow Lake is located along the Icefields Parkway, which is said to be the most scenic highway in the world.
There are no larches here, but the orange foliage surrounding the lake offers some stunning photographic opportunities. You will want to be here for sunrise and wait for that early morning light to illuminate the blue lake and foliage.
Location 4: Wedge Pond, Kananaskis Country
Alright, this one isn’t in Banff National Park, but it’s right next door in Kananaskis Country. And that’s part of what makes it so good.
Many visitors completely skip this area, so it can feel like a quiet escape from the crowds around Banff.
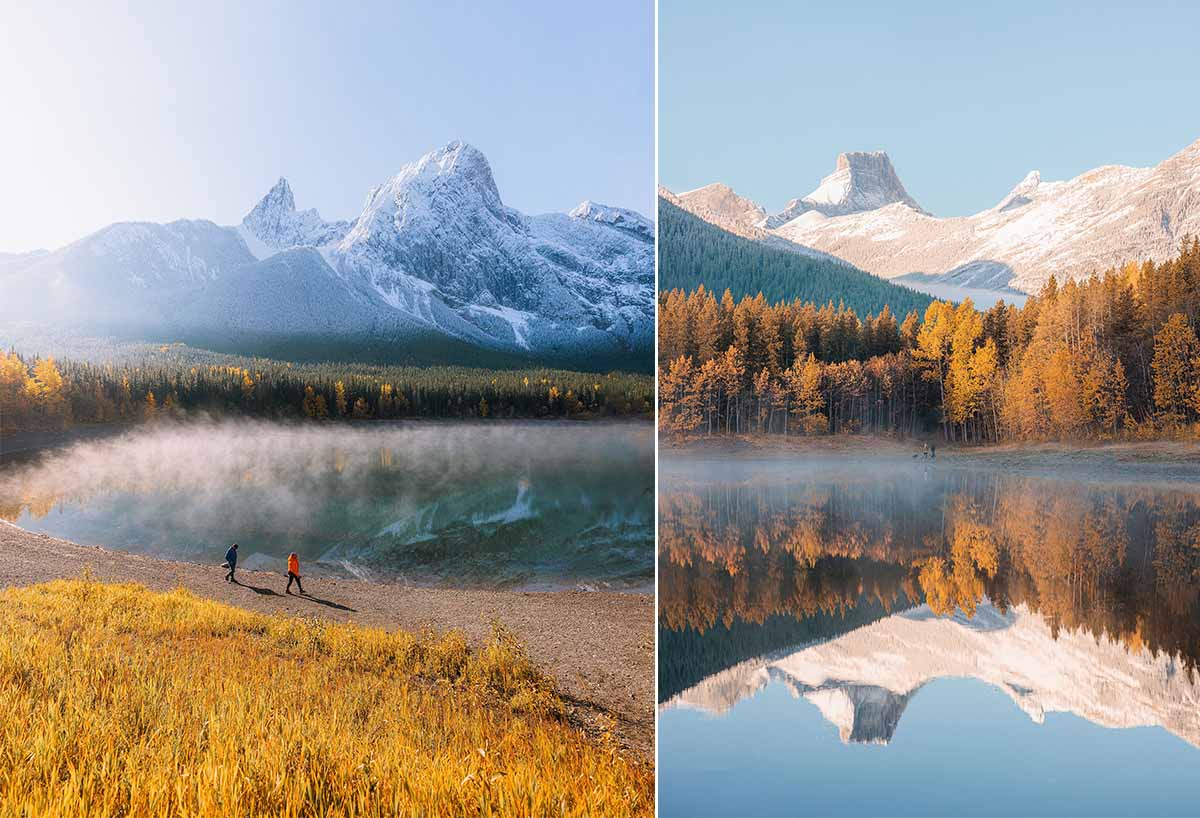
I’d recommend arriving for sunrise to catch alpenglow on the surrounding mountains. Then, as the sun rises, wait for the light to filter through the trees around the pond.
Many photographers set up their tripod right along the shoreline, which gives you a classic reflection shot. But don’t stop there. Walk around the surrounding trails and look for different perspectives.
Location 5: Skoki Region
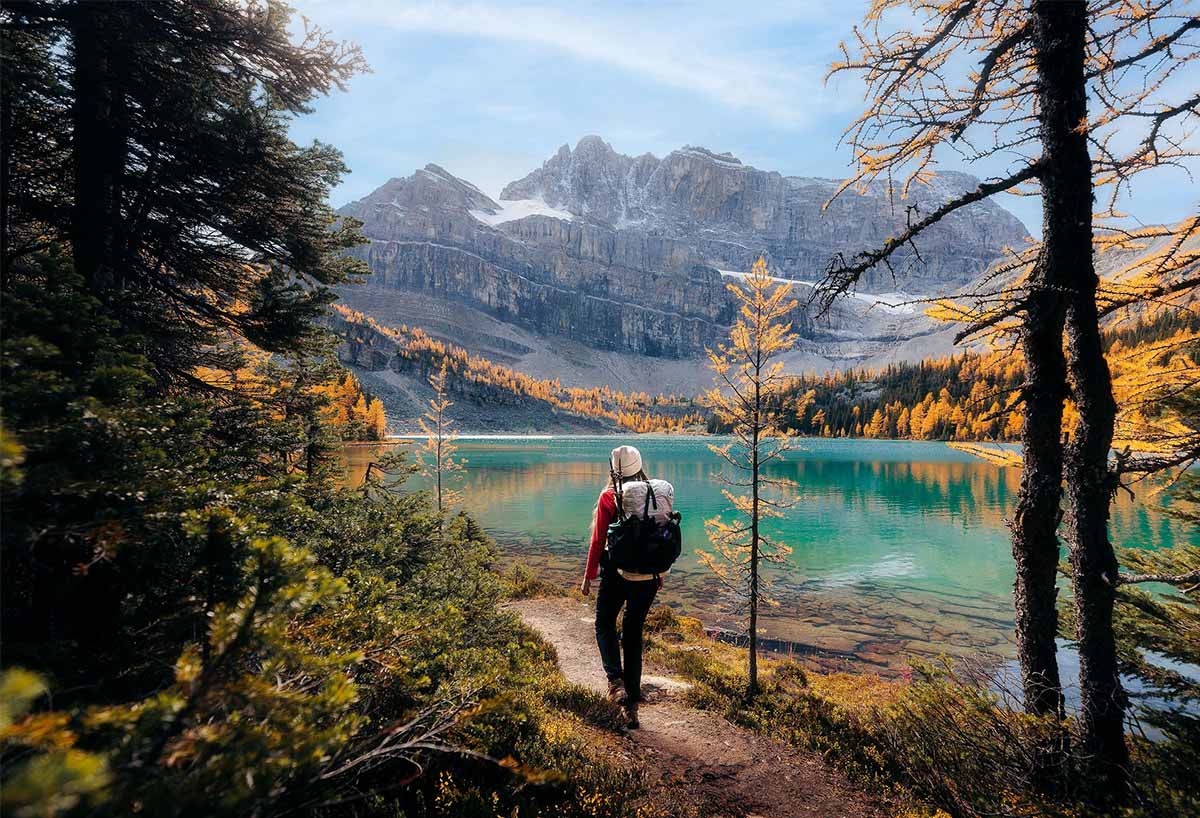
With this one, we are back to Larch hunting. Our legs are rested, so let's hike up to this region just outside of Lake Louise village. You can do a big day trip through this area, or you can book a backcountry campsite to take it all in.
Be sure to take Packers Pass and stop by Myosits and Zigadenus Lake. The colour is that brilliant blue, and they are both surrounded by Larches. We visited around midday, which actually worked really well for the lakes. With the sun directly overhead, the water was an incredible blue.
Final Thoughts
Banff National Park has something for everyone, but there’s something especially magical about visiting in autumn. The combination of golden larches, fresh mountain air, turquoise lakes, and snow-covered peaks makes this one of my favourite times of year to explore the Rockies.
I hope this guide helps you plan an incredible fall trip to Banff. And if you have any questions, drop them in the comments below, and I’ll be happy to help.