Landscape photography shows us just how beautiful our natural world is, and how you capture those landscapes as a photographer can help maximize that beauty. The gear you pack, how you set it up, how you compose your frame and what the conditions are like will all inevitably affect your end results. So how do you know which way is best? You talk to landscape photographers who have been doing it for a while to learn more about their experience. We’ve connected with a selection of leading landscape photographers to learn more about the steps they take to create a compelling, jaw-dropping, scroll-stopping landscape photos. From best lenses to camera setup and pro secrets to engage your viewers, check out these tips to take your own landscape images to the next level.
1. Look For The Best Light & Don’t Forget To Turn Around
I’m sure every landscape photographer wishes for the ability to control the weather and lighting conditions, but alas, trying to plan for the best is really all we can do. Landscape photographer and Alpha Collective member Tiffany Nguyen likes to try to plan and research for the best conditions of where she wants to shoot. She will even monitor those places on Instagram if it’s a popular location to see what the current conditions look like. “I’m always chasing the best light possible so shooting during sunrise or sunset is key,” she says. “I recommend a two-to-three day trip where you maximize your time by planning ahead and knowing where you want to shoot during the best light.”
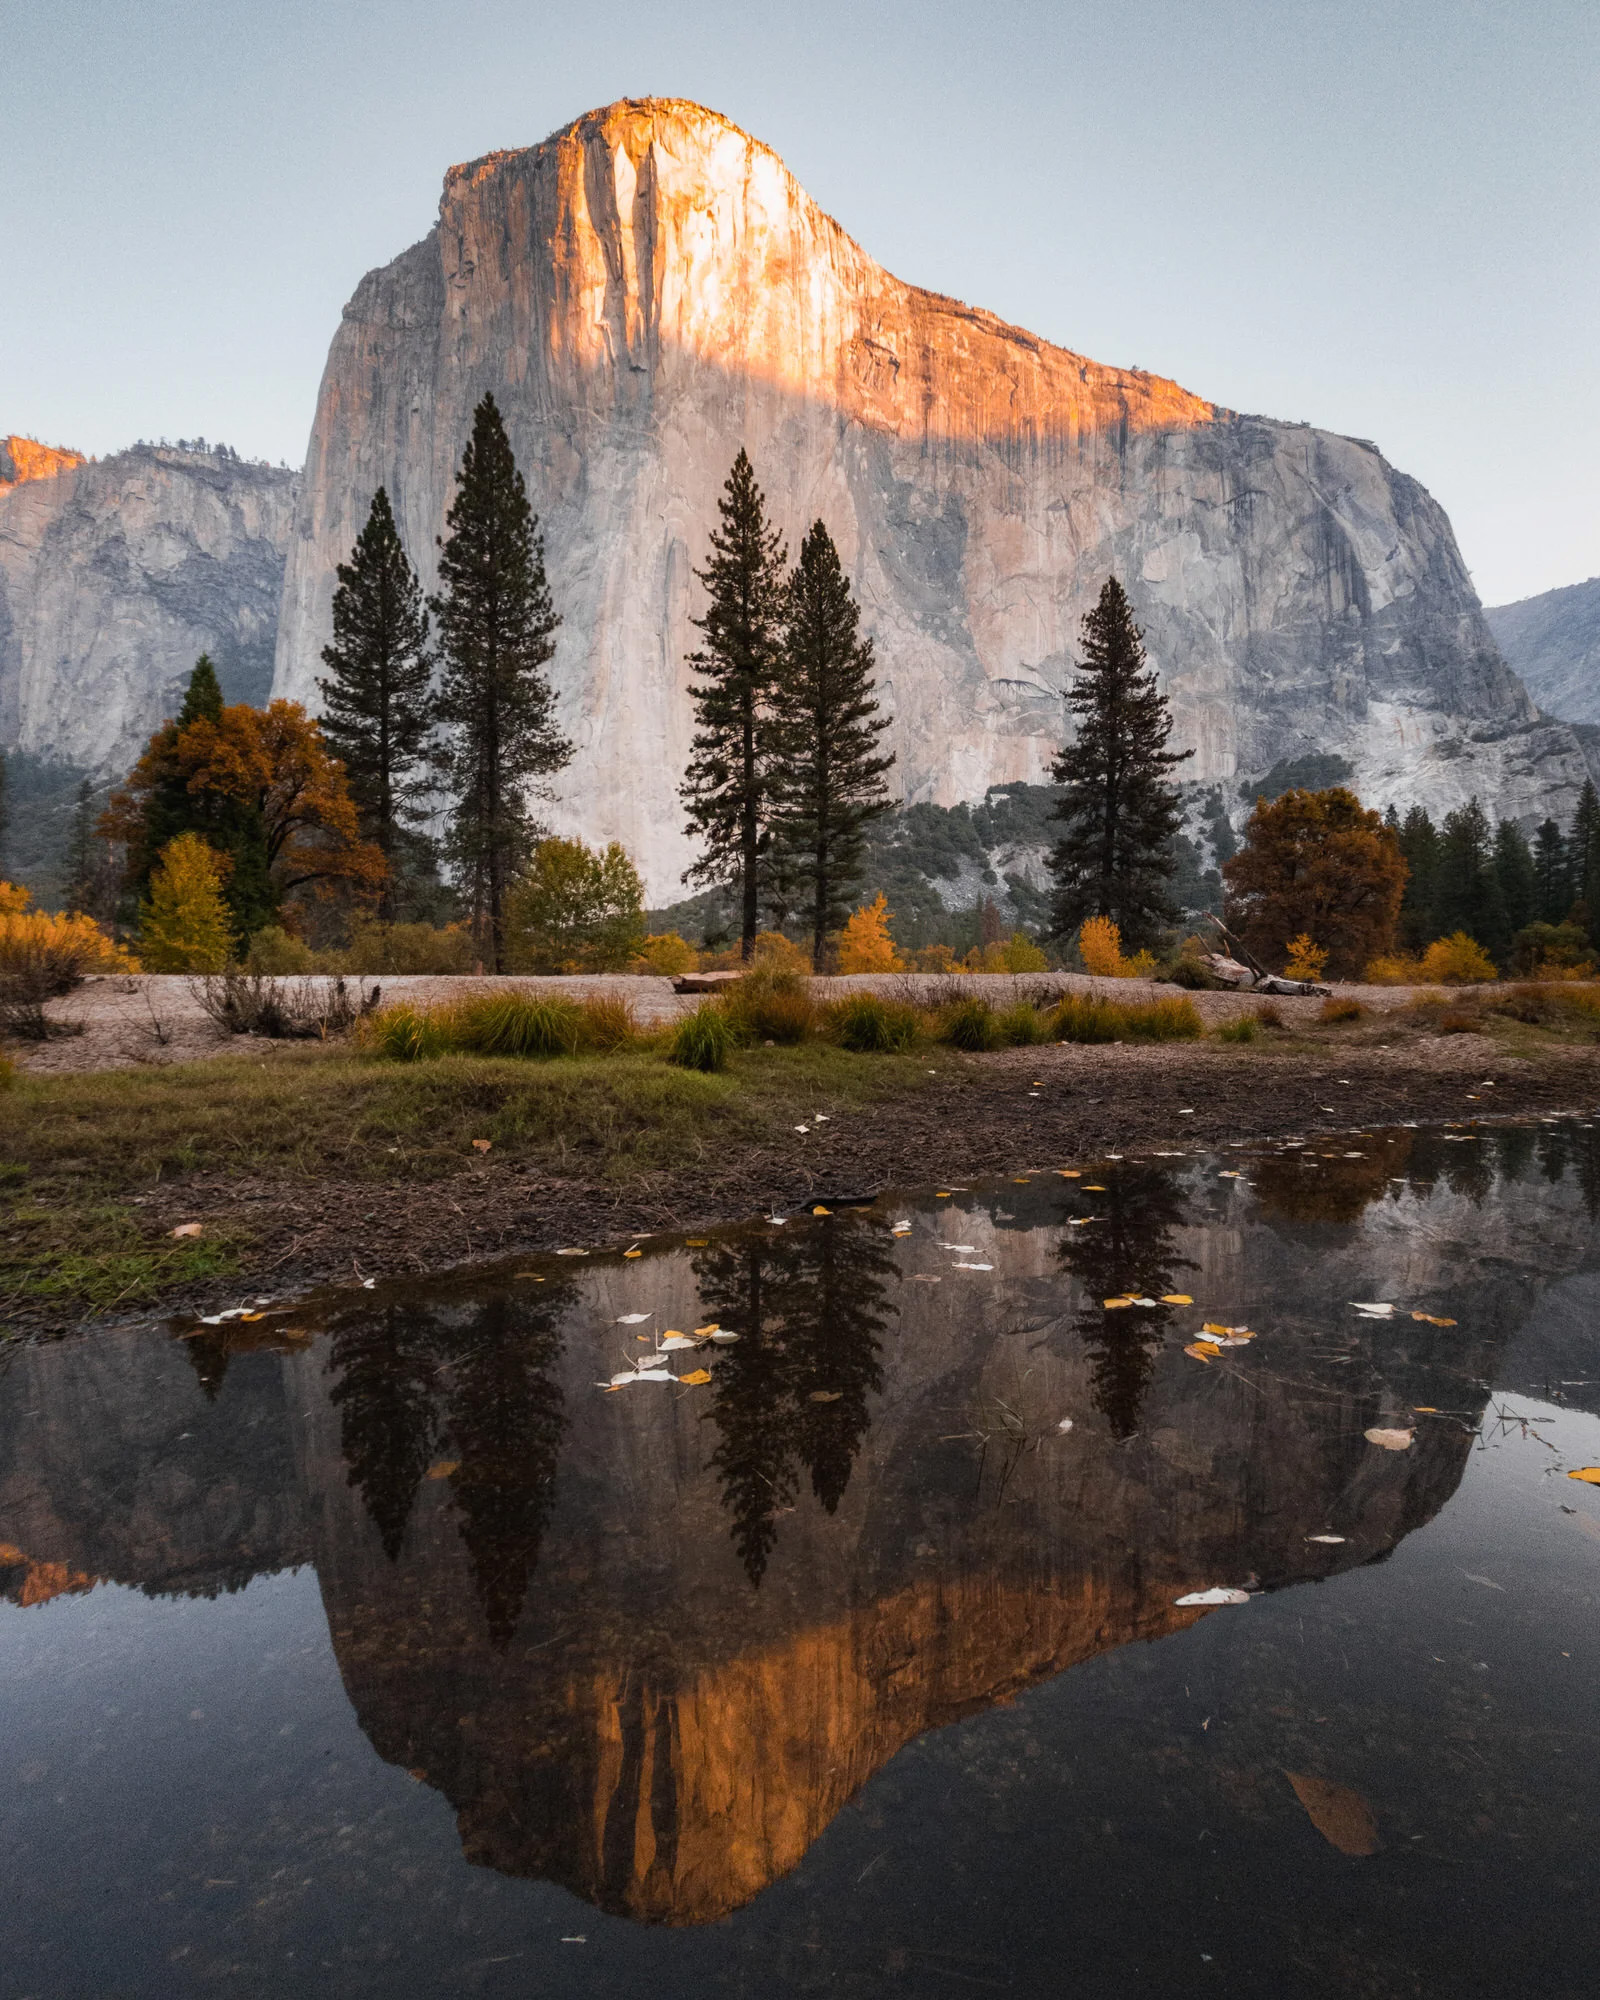 Photo by Tiffany Nguyen. Sony Xperia 1 Mk II
Professional photographer Andy Katz has logged over 60,000 miles traveling to all our beautiful National Parks to create beautiful landscape imagery. Knowing he can’t control the light as he’s out walking around, he says one of the most important things to remember to do is turn around. Many times people forget to do this which he calls a huge mistake because the light is a lot different in front of you than it is behind you. For example, while hiking through Redwood National Park, he captured this stunning image using his Sony Alpha 1 and Sony 24-105mm f/4 G. “I was hiking through the woods and I just turned around to see this fog appearing,” he explains. “Then all of a sudden the sun is breaking through and these rays appear. Had I not turned around I would have missed the entire thing.”
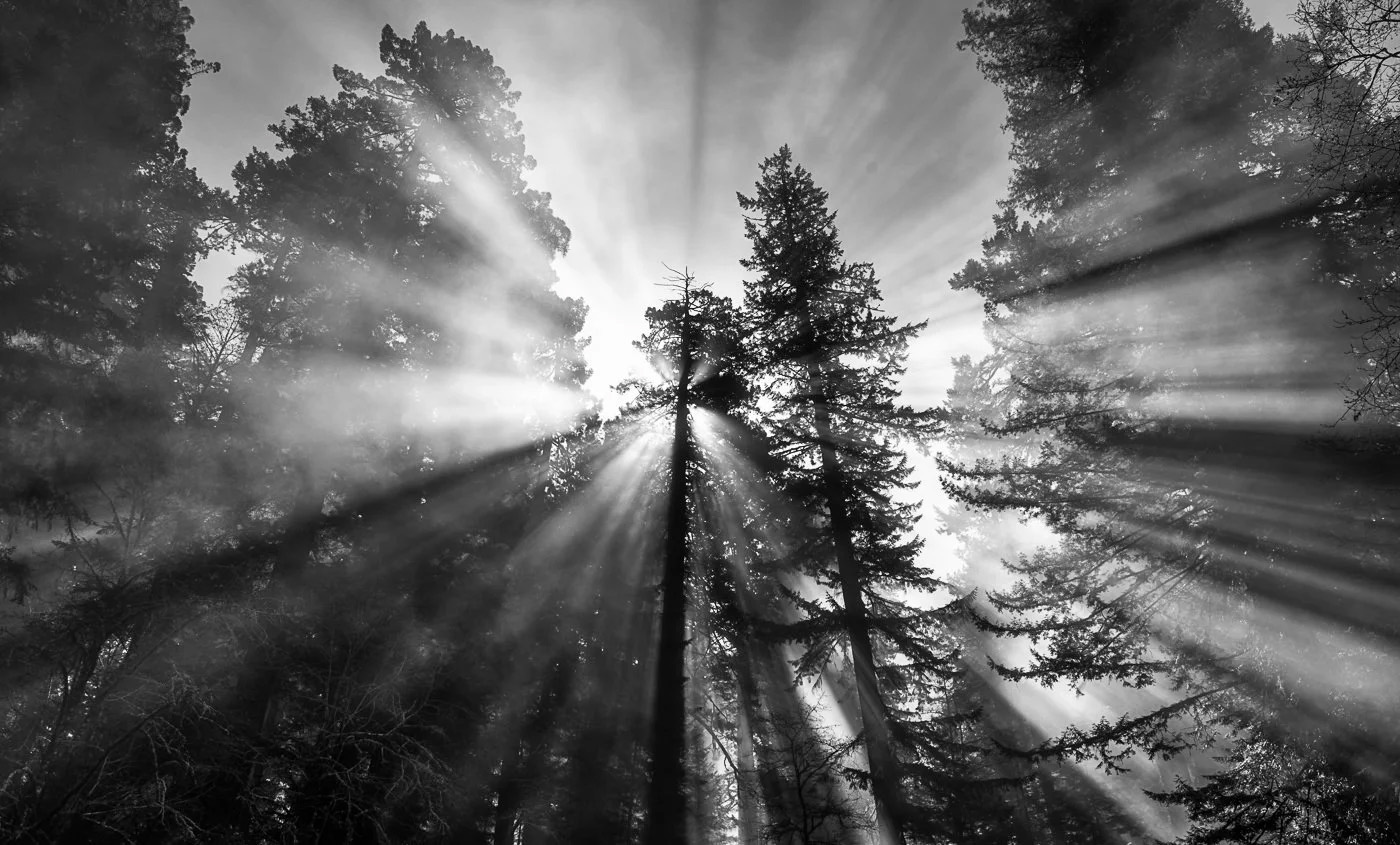 Photo by Andy Katz. Sony Alpha 1. Sony 24-105mm F4 G. 1/160-sec, F13, ISO 200
2. Try Incorporating A Human Element To Show The Landscape’s Grandeur
Incorporating a subject into your landscape image can help show just how grandiose the landscape really is. Autumn Schrock also often incorporates a human element in her landscape images to show the scale of the surroundings. “Scale is one of my favorite photography tools,” she says, “and I’m always blown away at how much it can impact an image. In photos, it’s hard to grasp the sense of scale for a location without another element to compare the surroundings to. By including a human element, something we know the scale to be, you can clearly showcase the enormity of the landscape to create a more interesting and dramatic shot. Viewers can also engage more with the image by visualizing themselves there.”
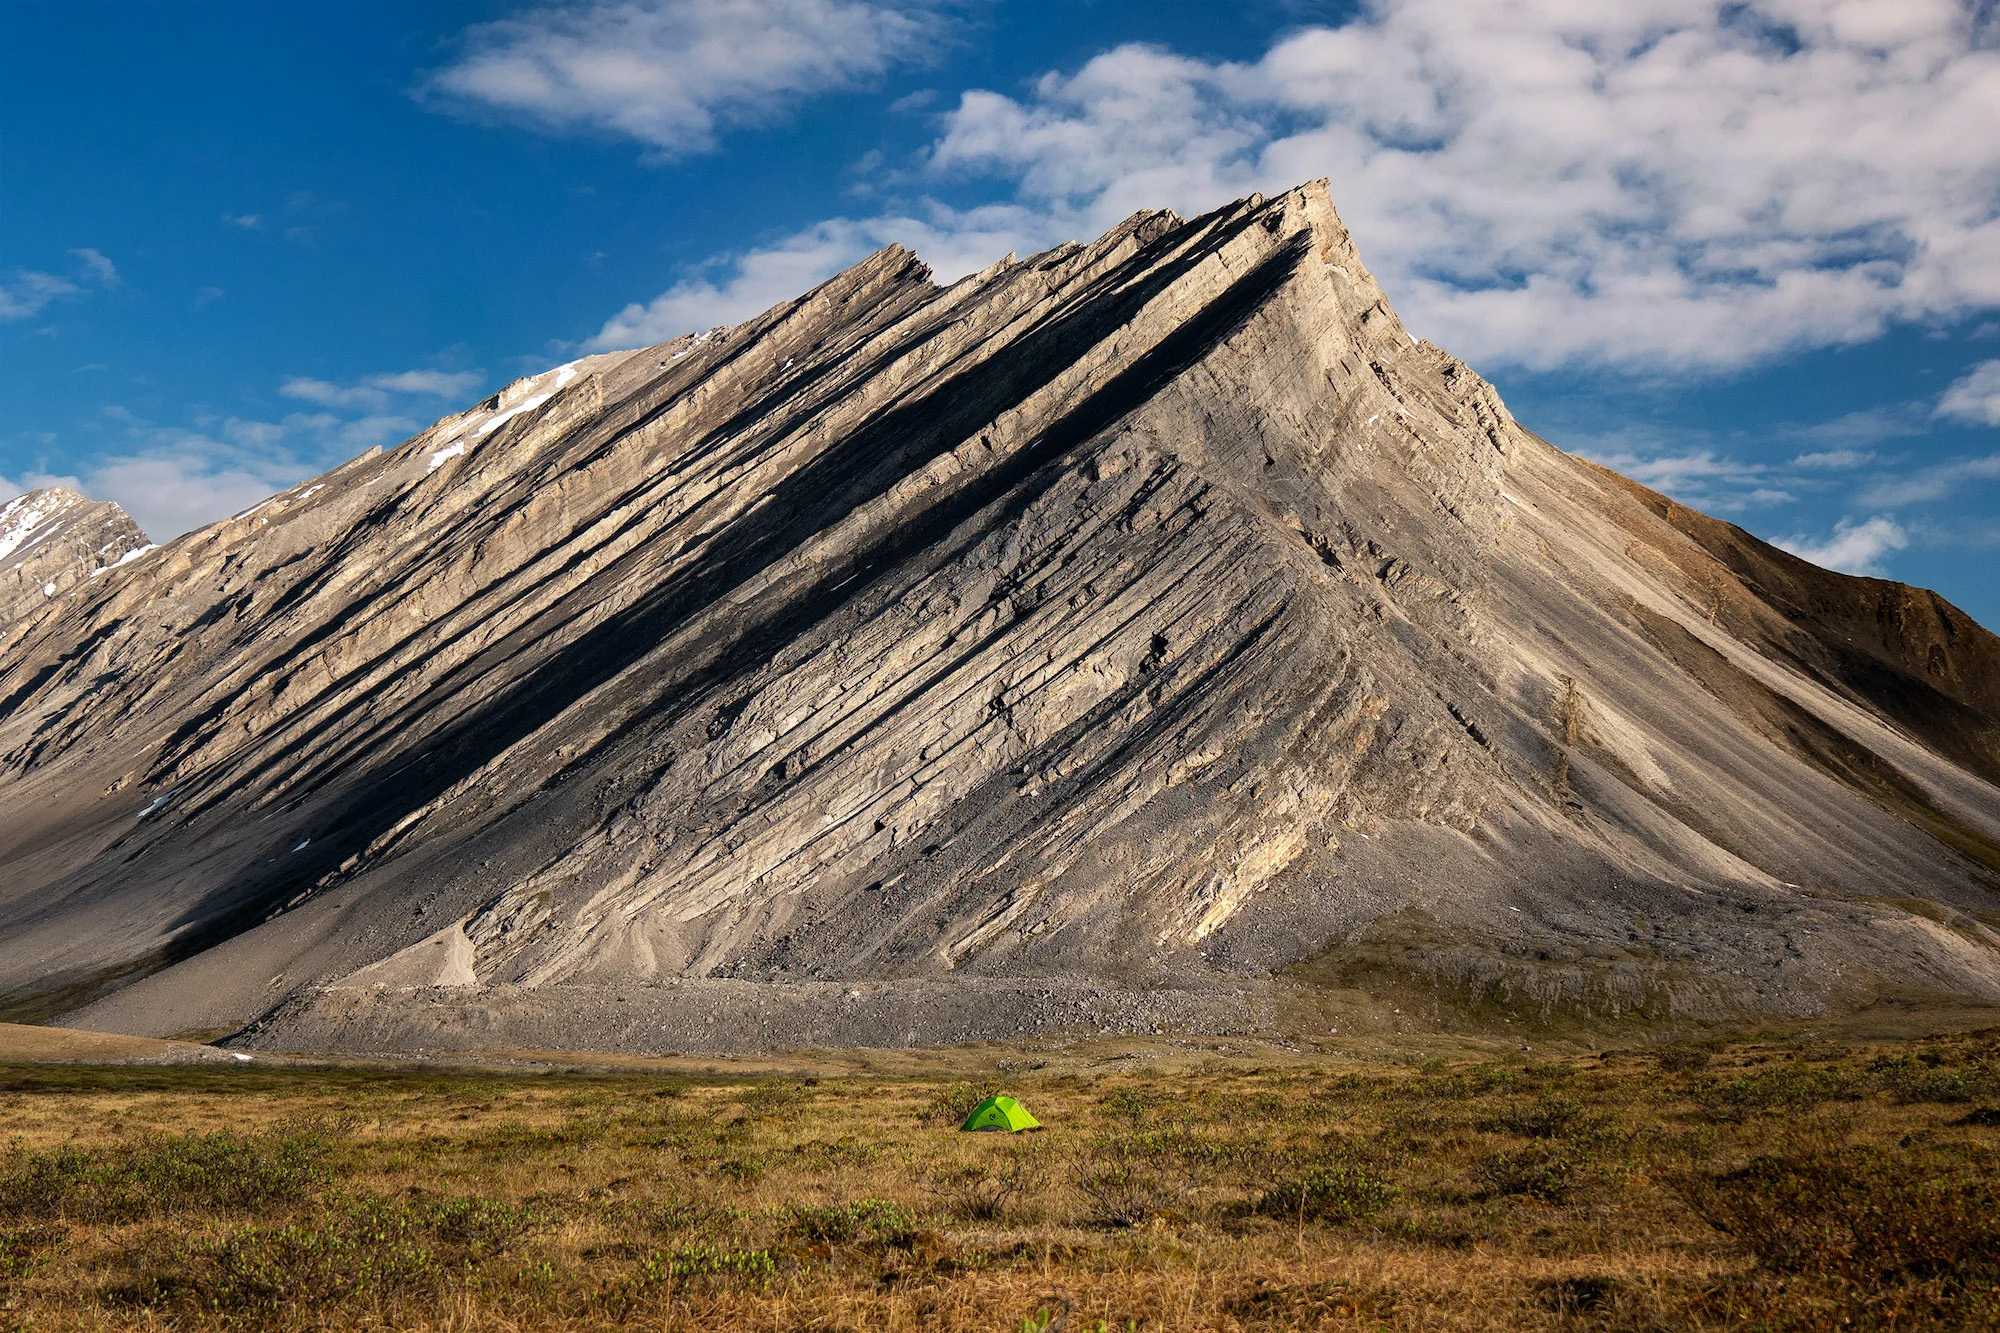 Photo by Autumn Shrock. Sony Alpha 7R III. Sony 24-70mm F2.8 G Master. 1/1000-sec, F2.8, ISO 100
Photographer Wesley Overklift also prefers to always include a subject in his landscape images, and he shows how he likes to compose such an image in the figure below. “...there should always be an interaction between two things,” he says, “in this case Alicia and the dramatic clouds. I love the angle on the rocks and ground. They push your eyes out over the ocean and toward the clouds. Furthermore I used the rule of thirds to try to align everything perfectly, which involves moving around a lot.”
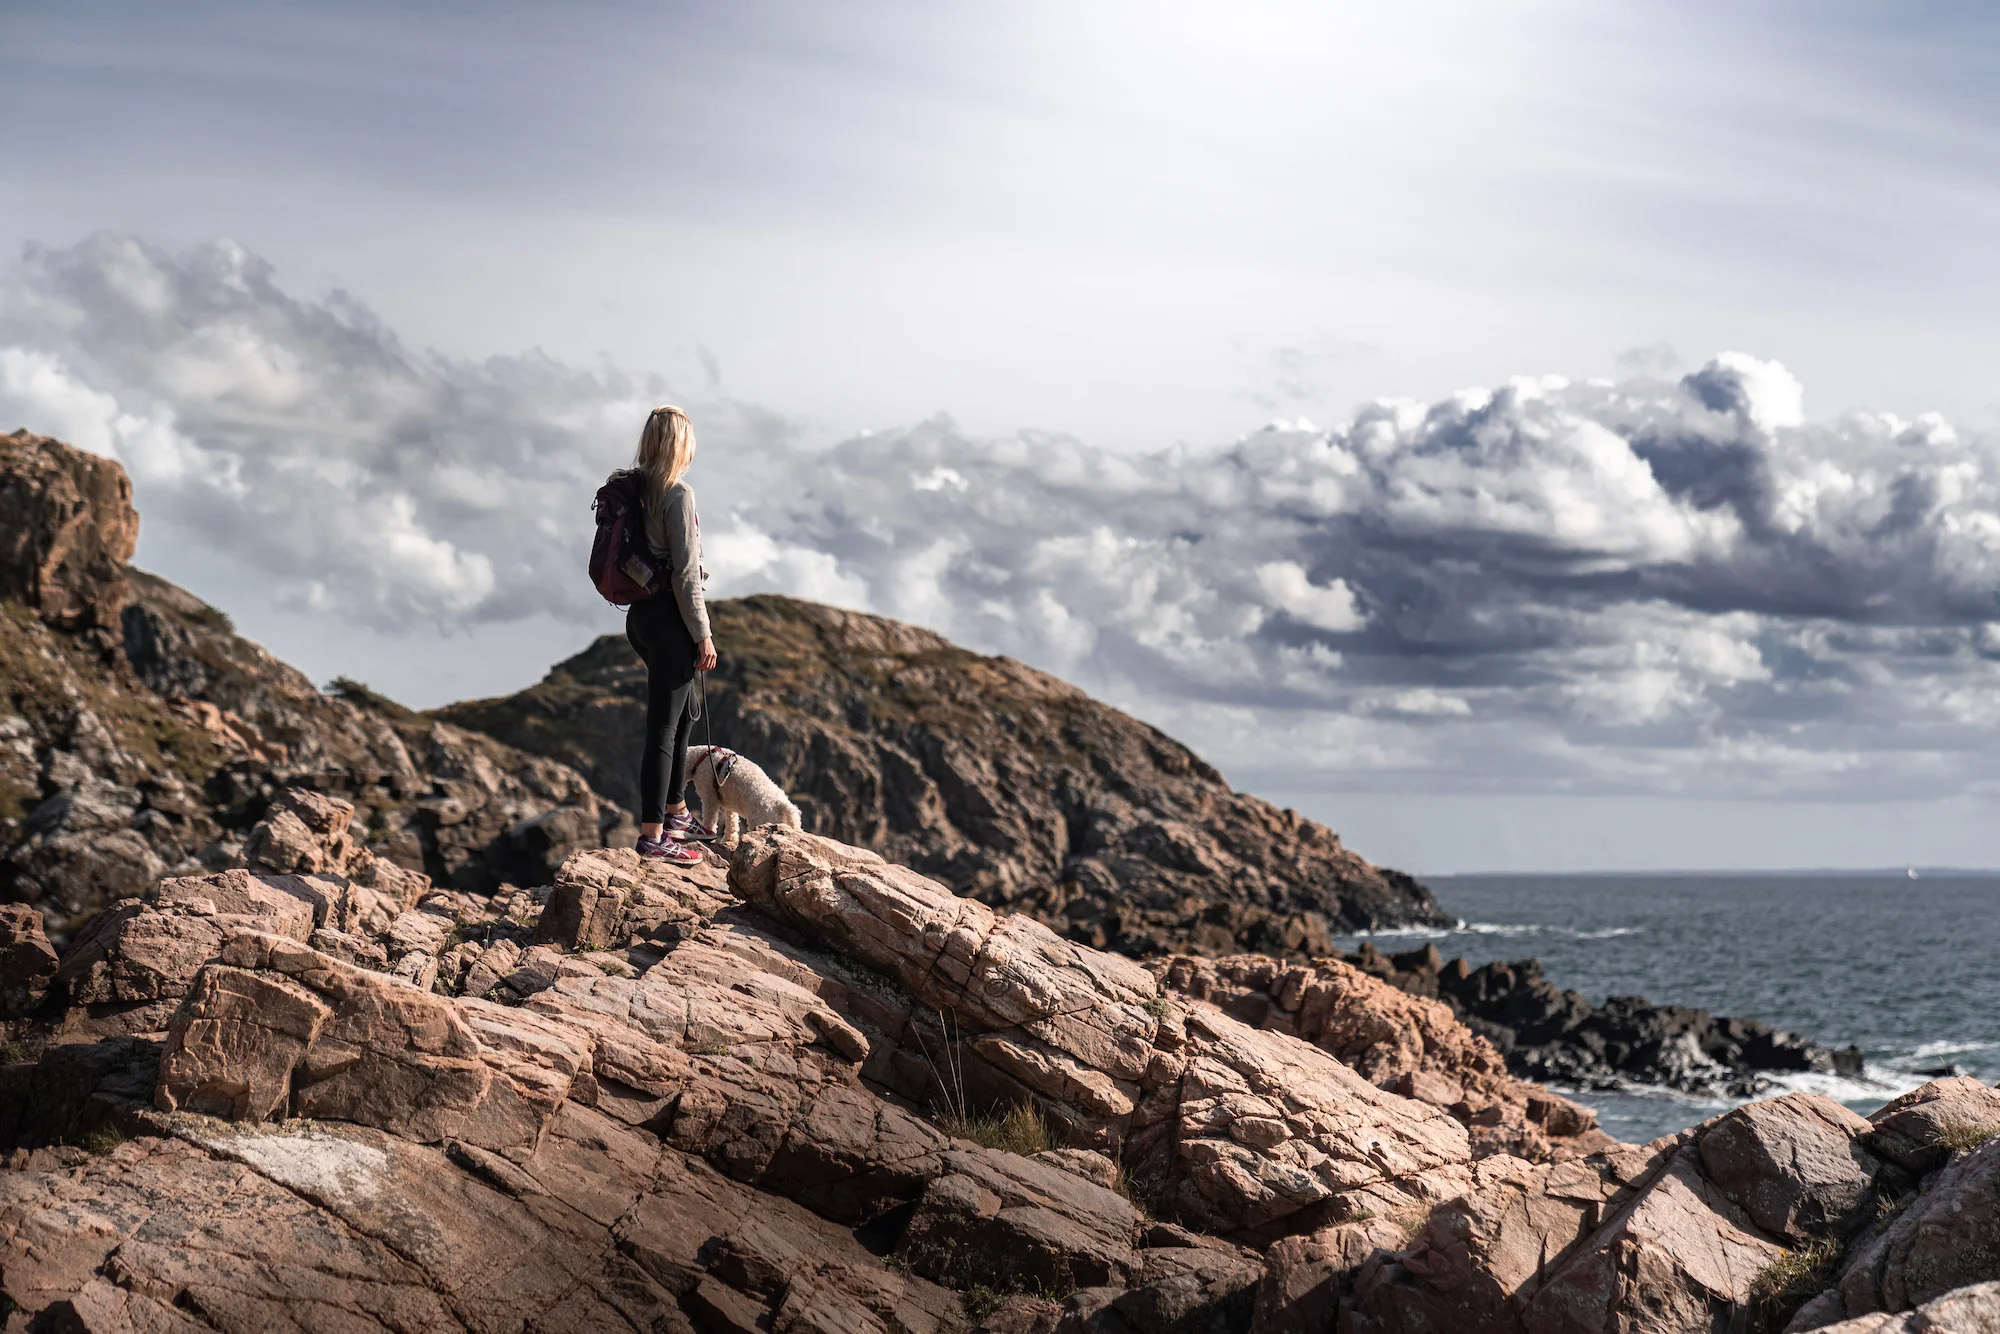 Photo by Wesley Overklift. Sony Alpha 7R III. Sony 24-70mm F2.8 G Master. 1/2500-sec, F2.8, ISO 100
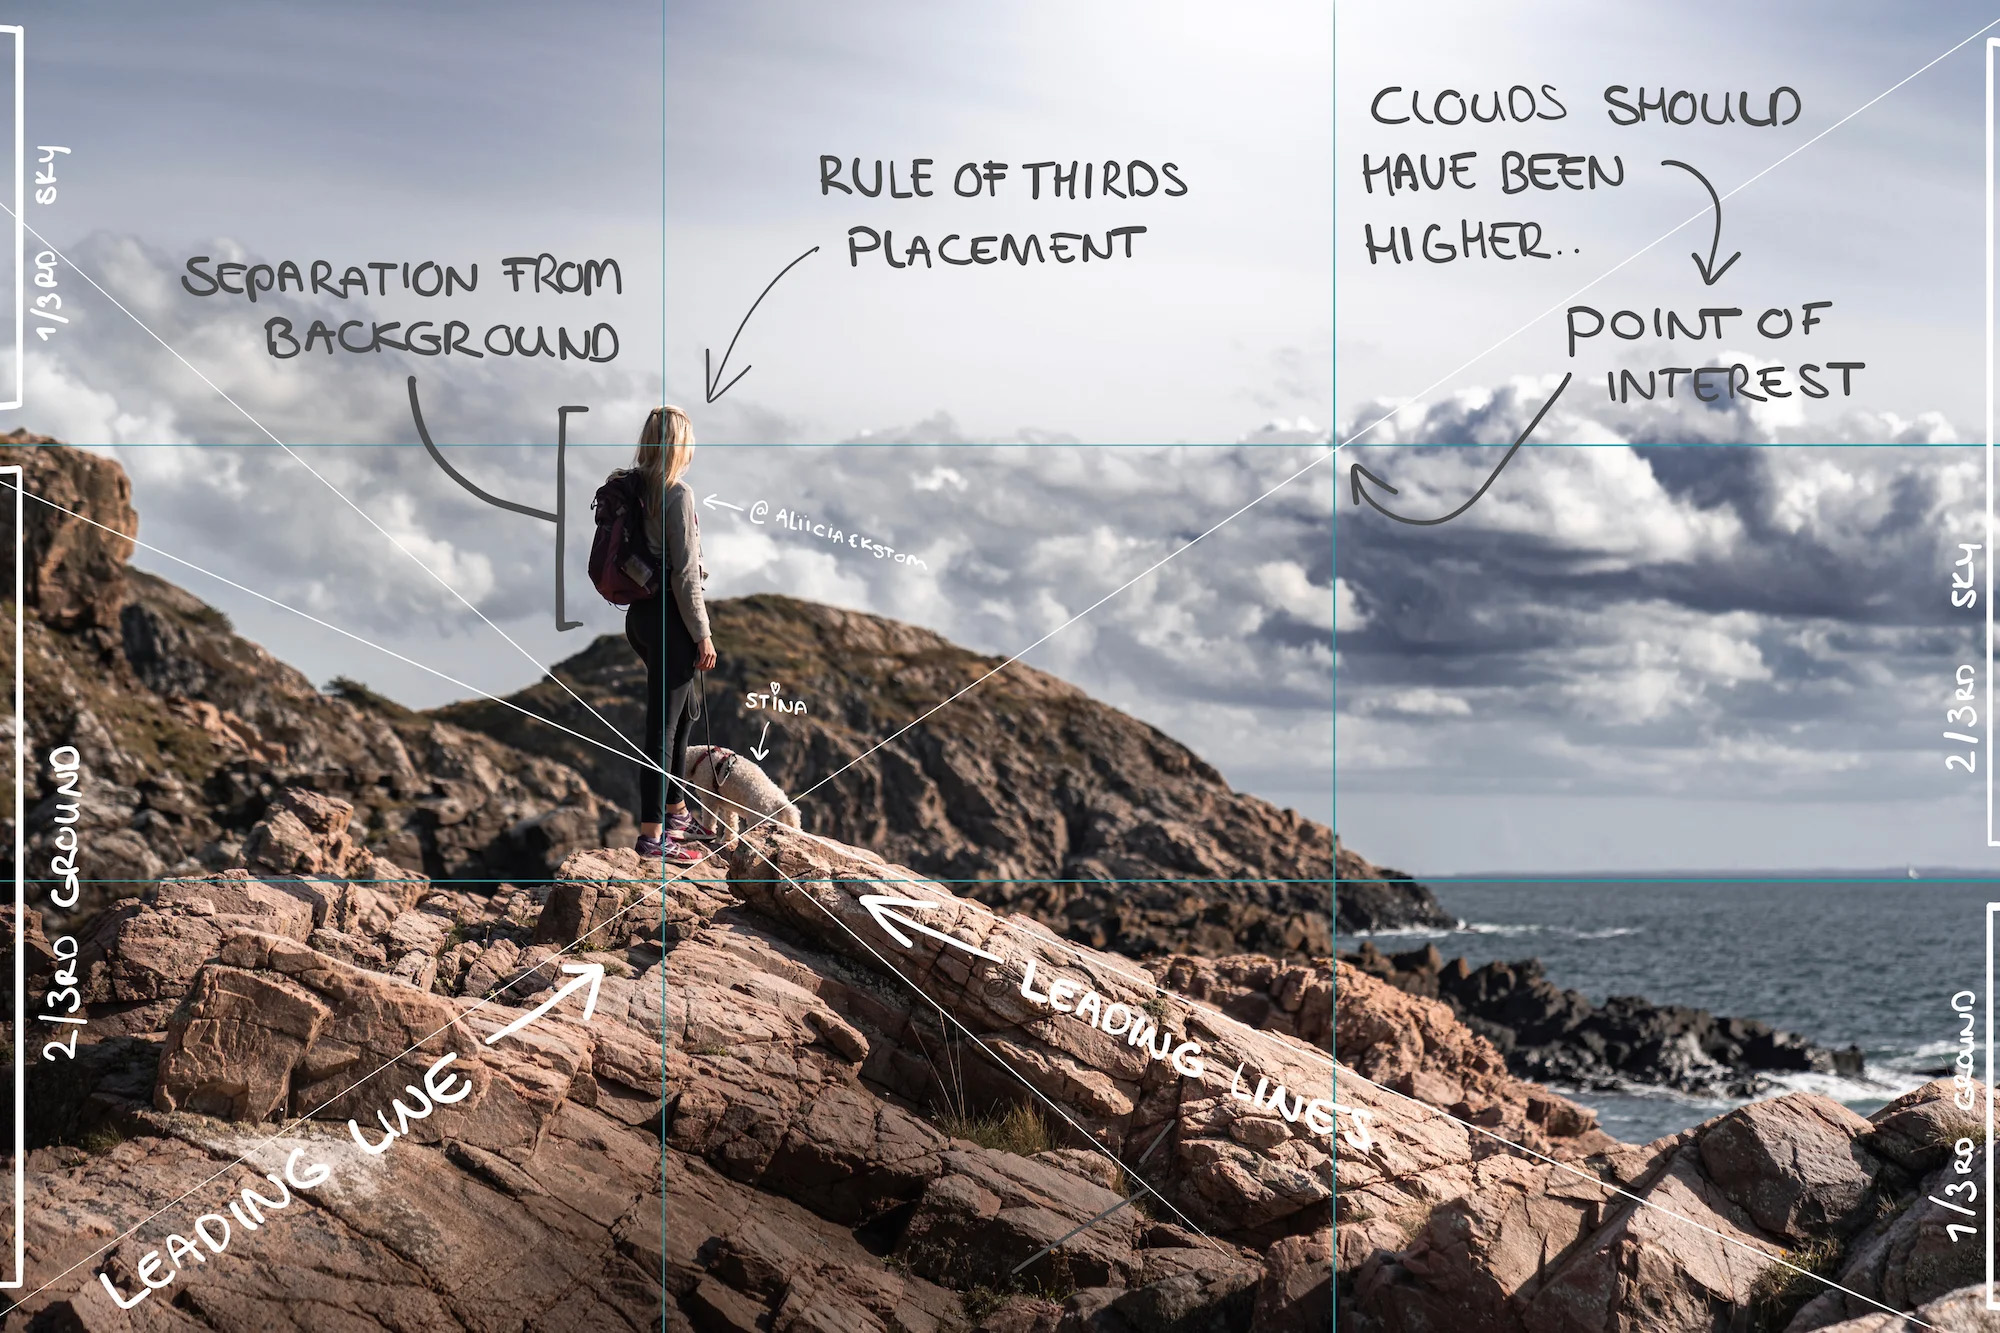 Photo by Wesley Overklift
3. Choose Your Gear Wisely (And Don’t Shy Away From Telephoto Lenses)
A wide range of gear can be used to photograph landscapes, and much of it depends on the types of images you’re trying to capture. Sometimes it makes sense to have a variety of gear with you because you never know what situation you could come across. Professional landscape photographer Don Smith's kit is fully loaded with everything you might need to capture a solid landscape image, as you can see in his gear image below. His go-to camera for landscapes? The Sony Alpha 1. “In my opinion, this is the best camera I have ever worked with. I find I am using it exclusively for my landscape photography,” he says. “The files yield the most realistic colors I have ever seen and the image file has a sharpness to it that makes each image pop. It can do everything I need in nature from low-light to wildlife.” If he has a client who wants extreme enlargements of a landscape, then he’ll use his backup camera, the Sony Alpha 7R IV, to get those extra megapixels. Try out the new Sony Alpha 7R V to reach a whole new level of camera intelligence.
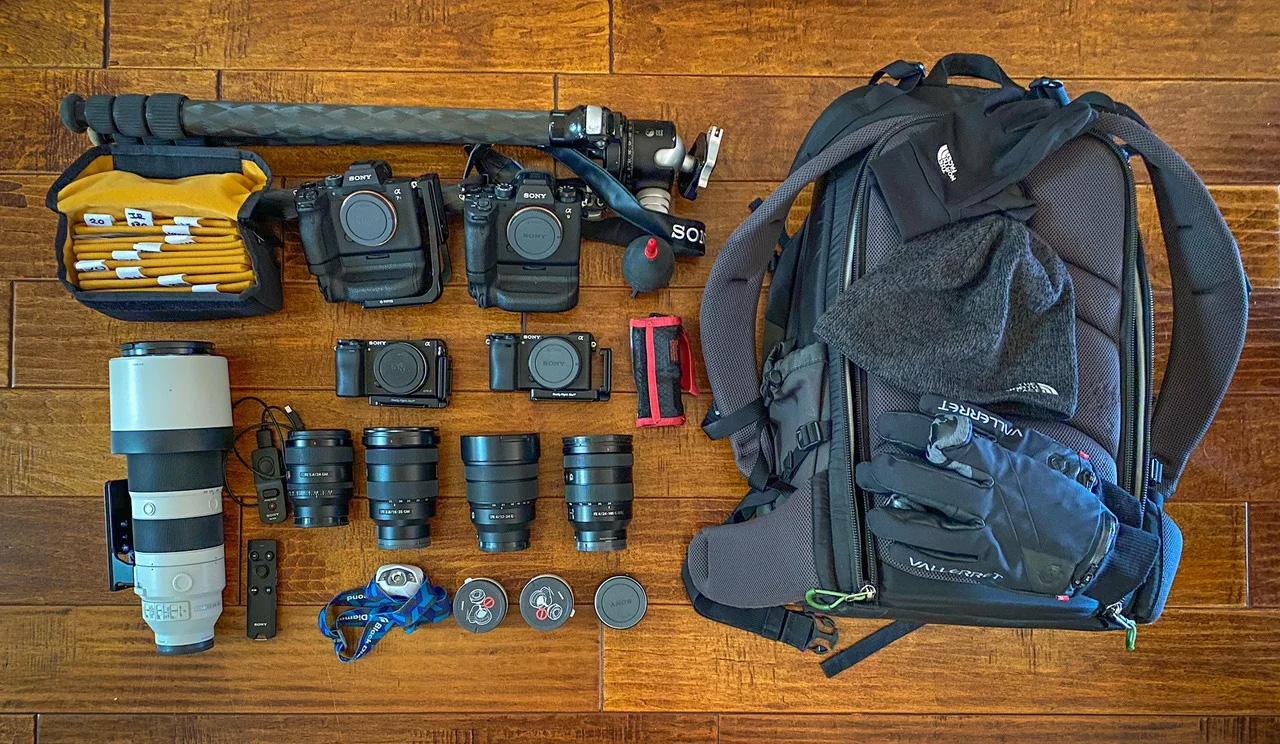 Landscape Photographer Don Smith's kit
As for lenses, Smith has quite the collection – but if he must go with one lens, he says the Sony 24-105mm f/4 G is the one to make the cut. “This is truly one of my workhorse lenses for landscape,” he says. “If I must go out with one lens, this is usually it. The 24-105mm hits the sweet spot so often with my compositions, and even though it is not a GM lens, it should be – it is razor sharp.” When he can pack whatever he wants, he also likes to include the Sony 12-24mm f/2.8 G Master and Sony 16-35mm f/2.8 G Master zoom lenses in his kit.
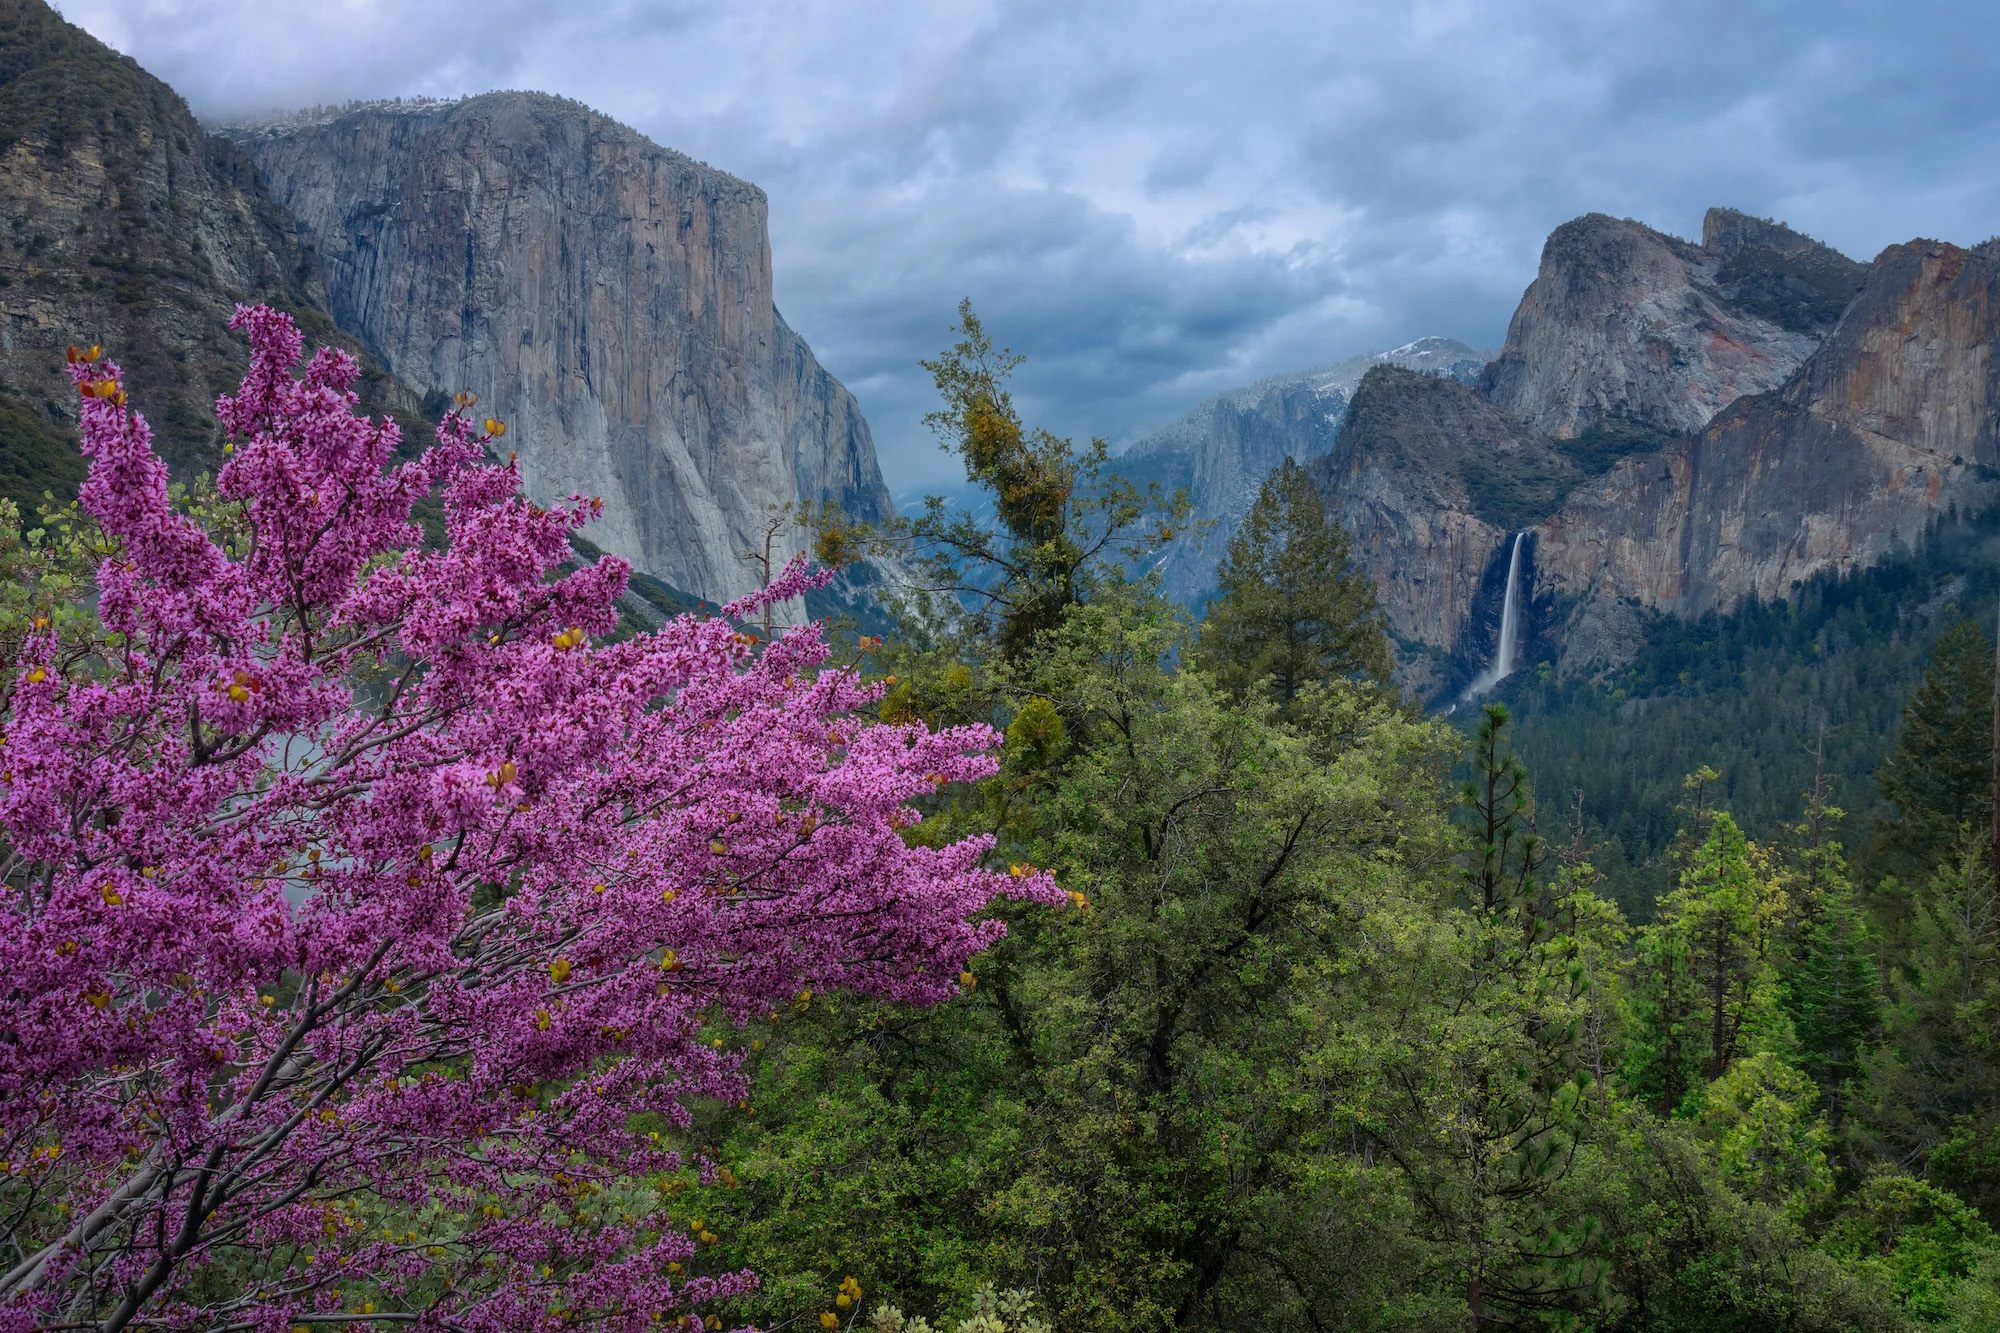 Photo by Don Smith. Sony Alpha 1. Sony 24-105mm F4 G. 1.6-sec, F16, ISO 100
Smith also has three telephoto lenses he likes to mix and match when he’s packing – the Sony 100-400mm f/2.8 G Master, Sony 200-600mm f/5.6-6.3 G and Sony 400mm f/2.8 G Master. “Many people don’t think of telephoto for landscape but I couldn’t live without them,” he says. And he’s not the only one, many other leading landscape photographers like to bring along a telephoto to take their images to the next level.
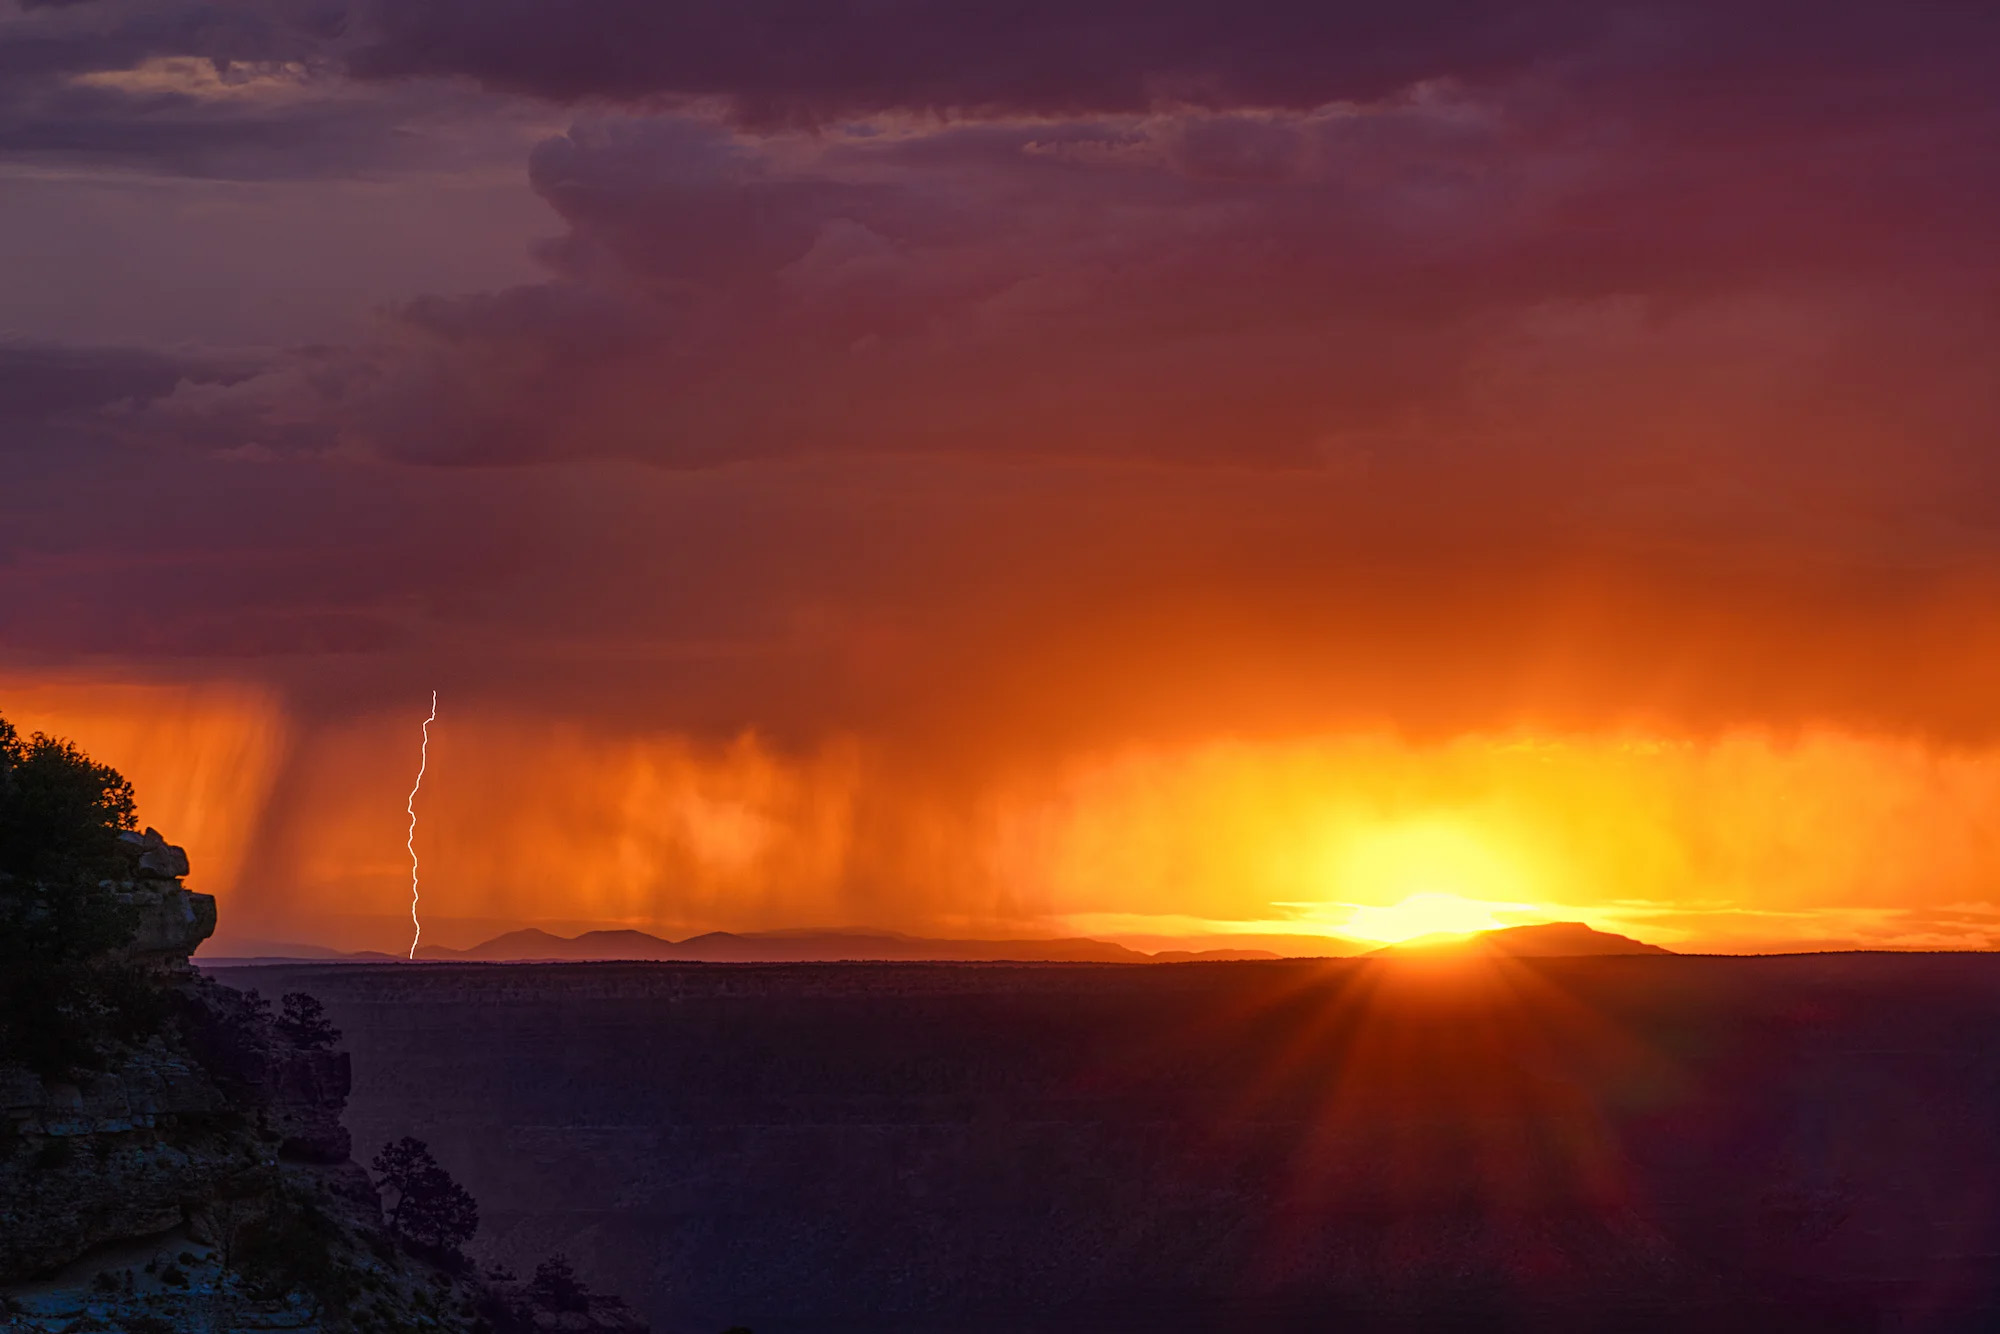 Photo by Don Smith. Sony Alpha 7R III. Sony 100-400mm F4.5-5.6 G Master. 1/4-sec, F22, ISO 50
For instance, landscape photographer and Alpha Collective member Autumn Schrock also suggests using a telephoto lens for better landscape images. “People are often surprised that my favorite lens as a landscape photographer is the Sony 100-400mm f/4.5-5.6 G Master. It isn’t your typical lens for landscapes, but we often miss the beautiful overlooked details of nature in our everyday lives. Using a telephoto lens for landscapes allows you to draw your viewer in for a more intimate feel and look at just how spectacular the nuances of nature truly are.”
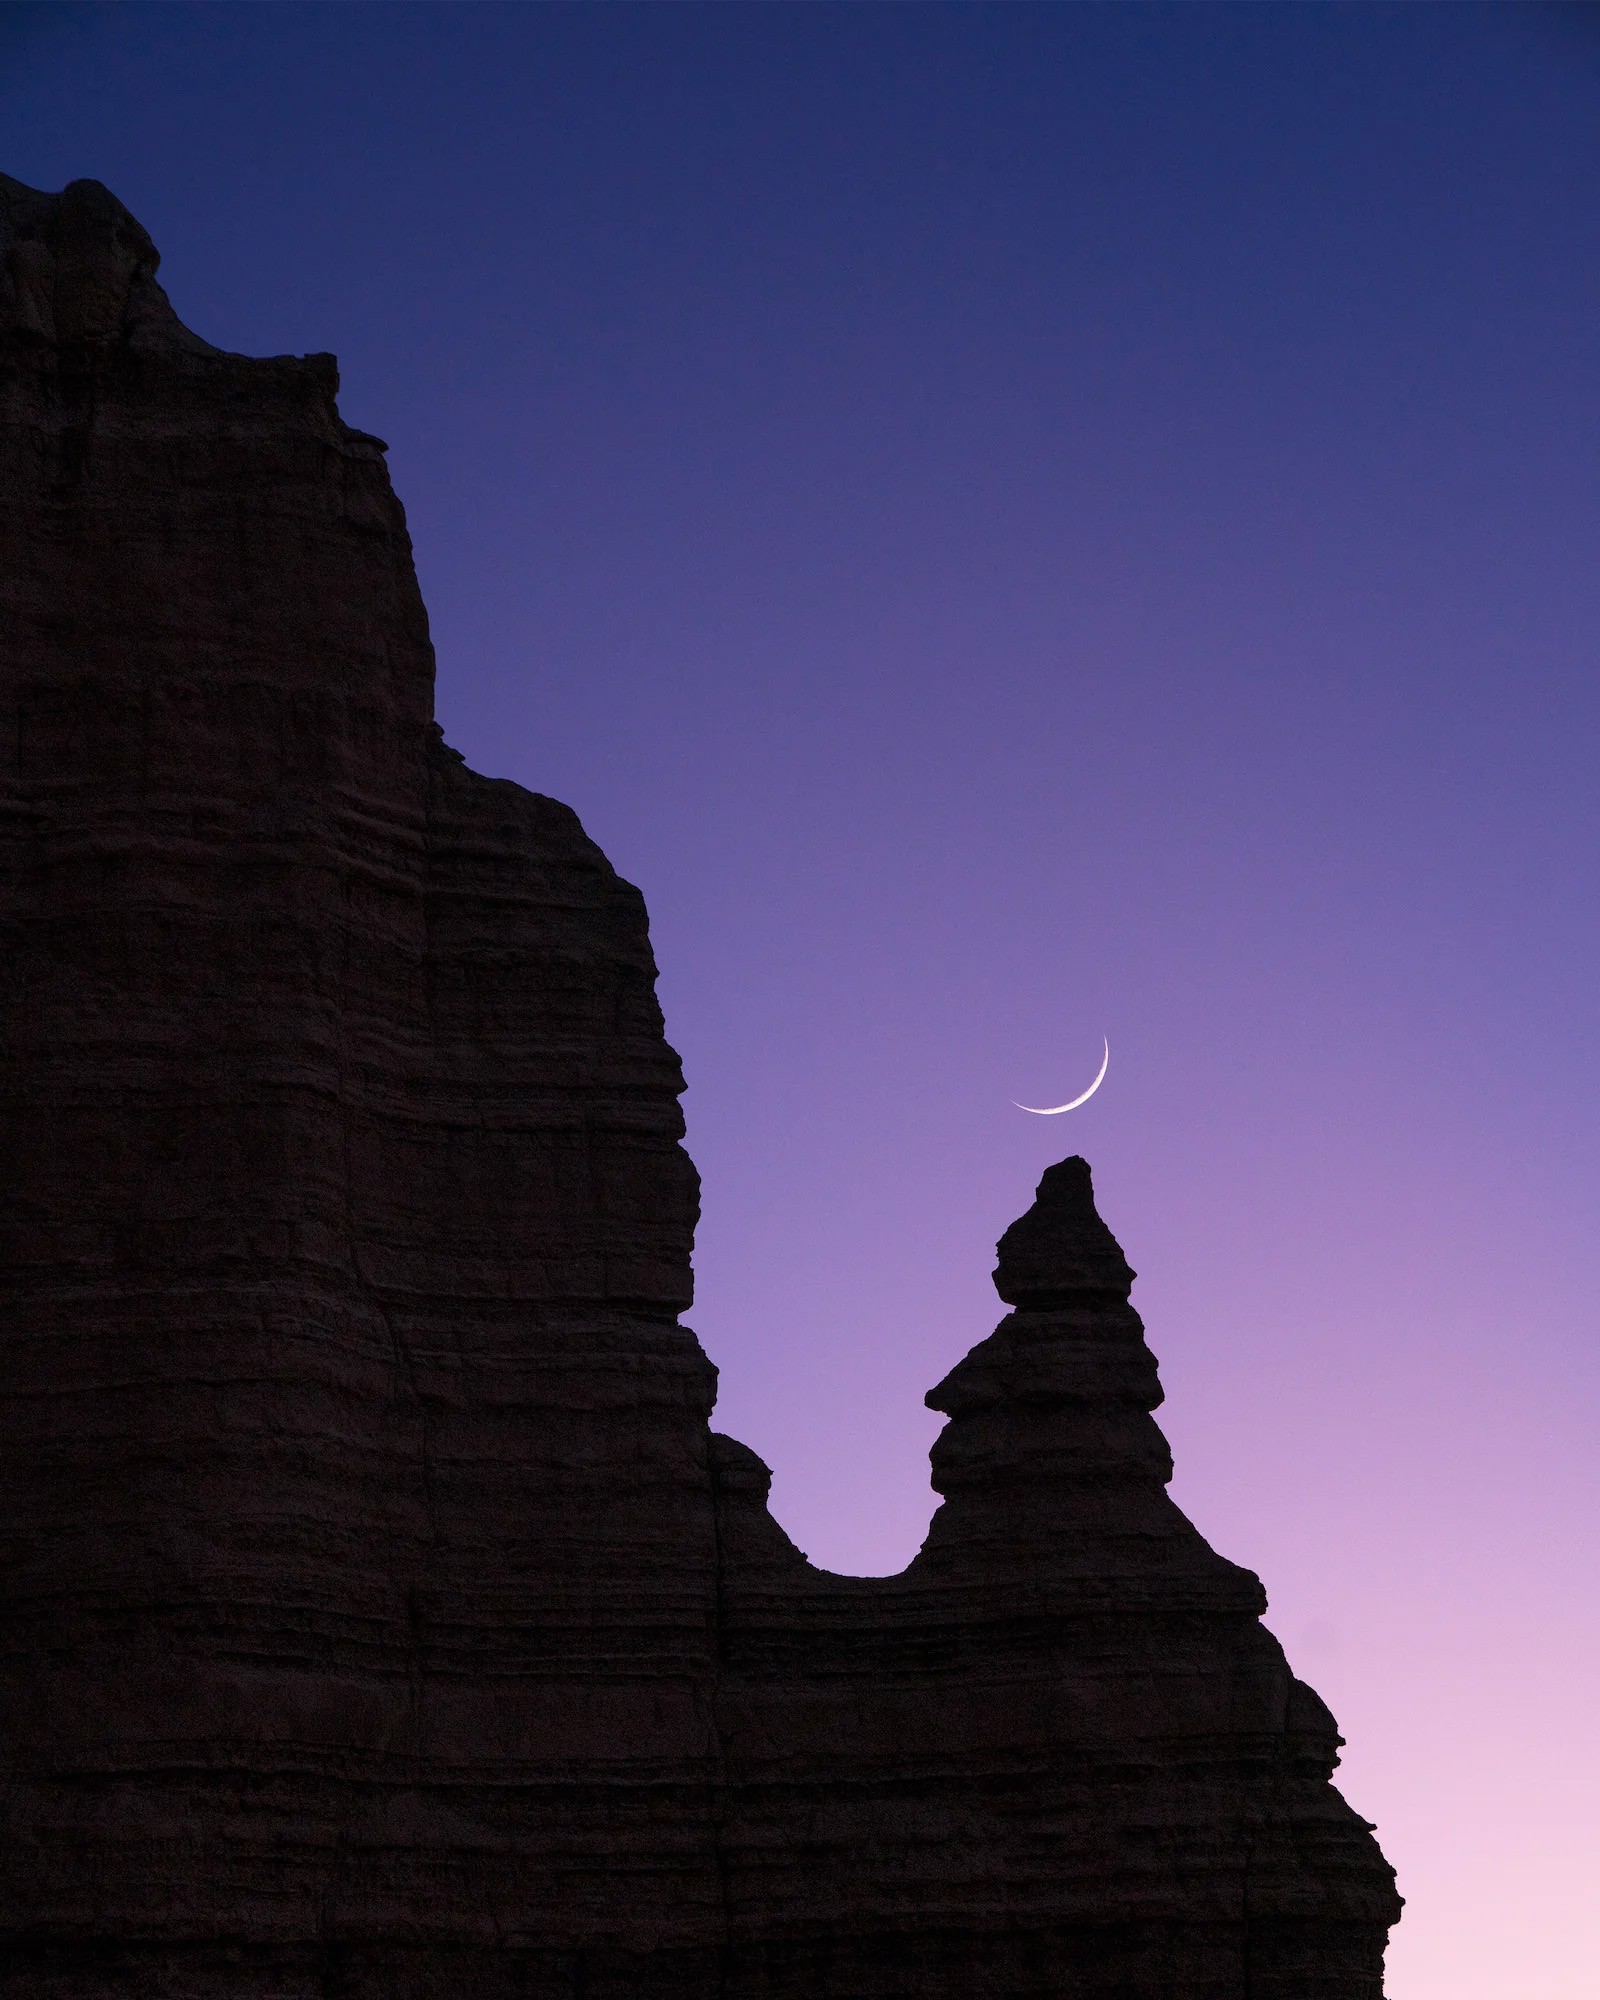 Photo by Autumn Shrock. Sony Alpha 7R III. Sony 100-400mm F4.5-5.6 G Master. 1/125-sec, F5, ISO 1000
Photographer David Erichsen also likes to pack the Sony 100-400mm f/4.5-5.6 G Master in his complete landscape photography kit. “As a landscape photographer having this lens sometimes feels like having a super power,” he says. “I was shooting with some friends just the other day at the Kilauea overlook in Volcanoes National park. I was probably a good mile away from the lava lake but was still able to capture crisp, full frame shots. I also love that it allows me to dabble with wildlife photography. Lastly, the ability to really zoom into a scene while out in the field allows me to get creative on bluebird days when the clouds do not cooperate.”
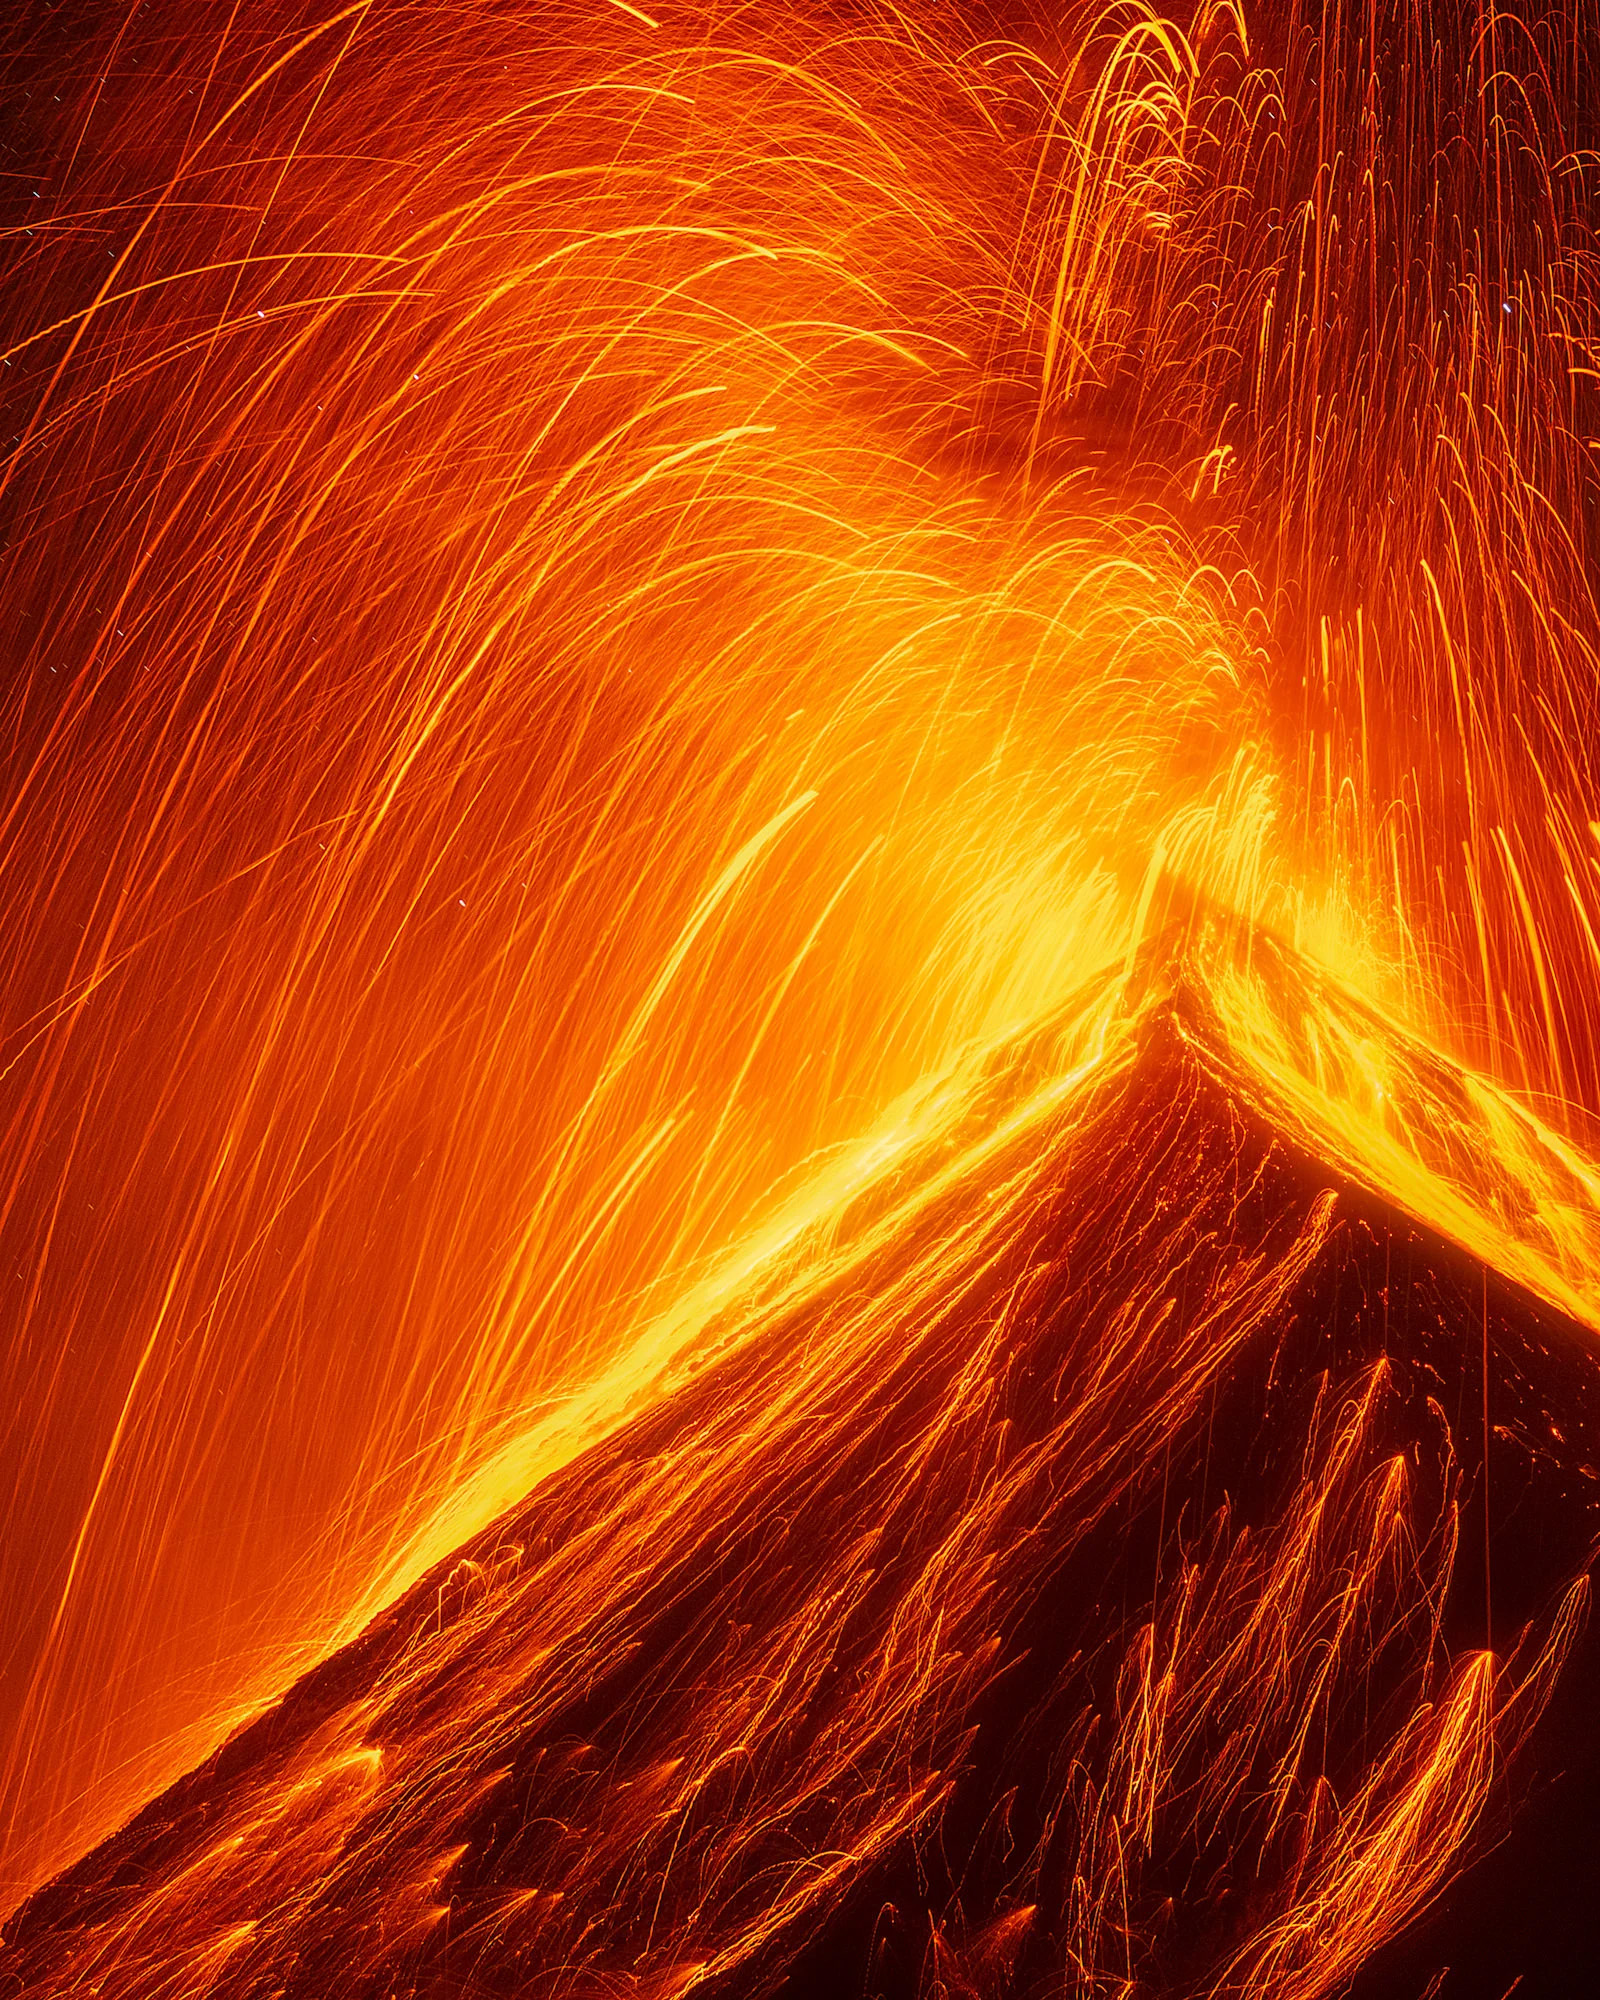 Photo by David Erichsen. Sony Alpha 7R III. Sony 100-400mm F4.5-5.6 G Master. 15-secs, F7.1, ISO 1600
In addition to cameras and lenses, landscape photography can also require a number of accessories to help you get better images. Most landscape photographers always pack a tripod to stabilize their camera. Autumn Schrock also likes to include a good circular polarizing filter in her kit. “It allows you to capture effects in-camera rather than having to rely solely on post-processing to achieve the same effects. CPLs help to reduce reflections, remove haze, add contrast, and darken and saturate the sky. They can drastically alter an image, which saves time later on the computer.”
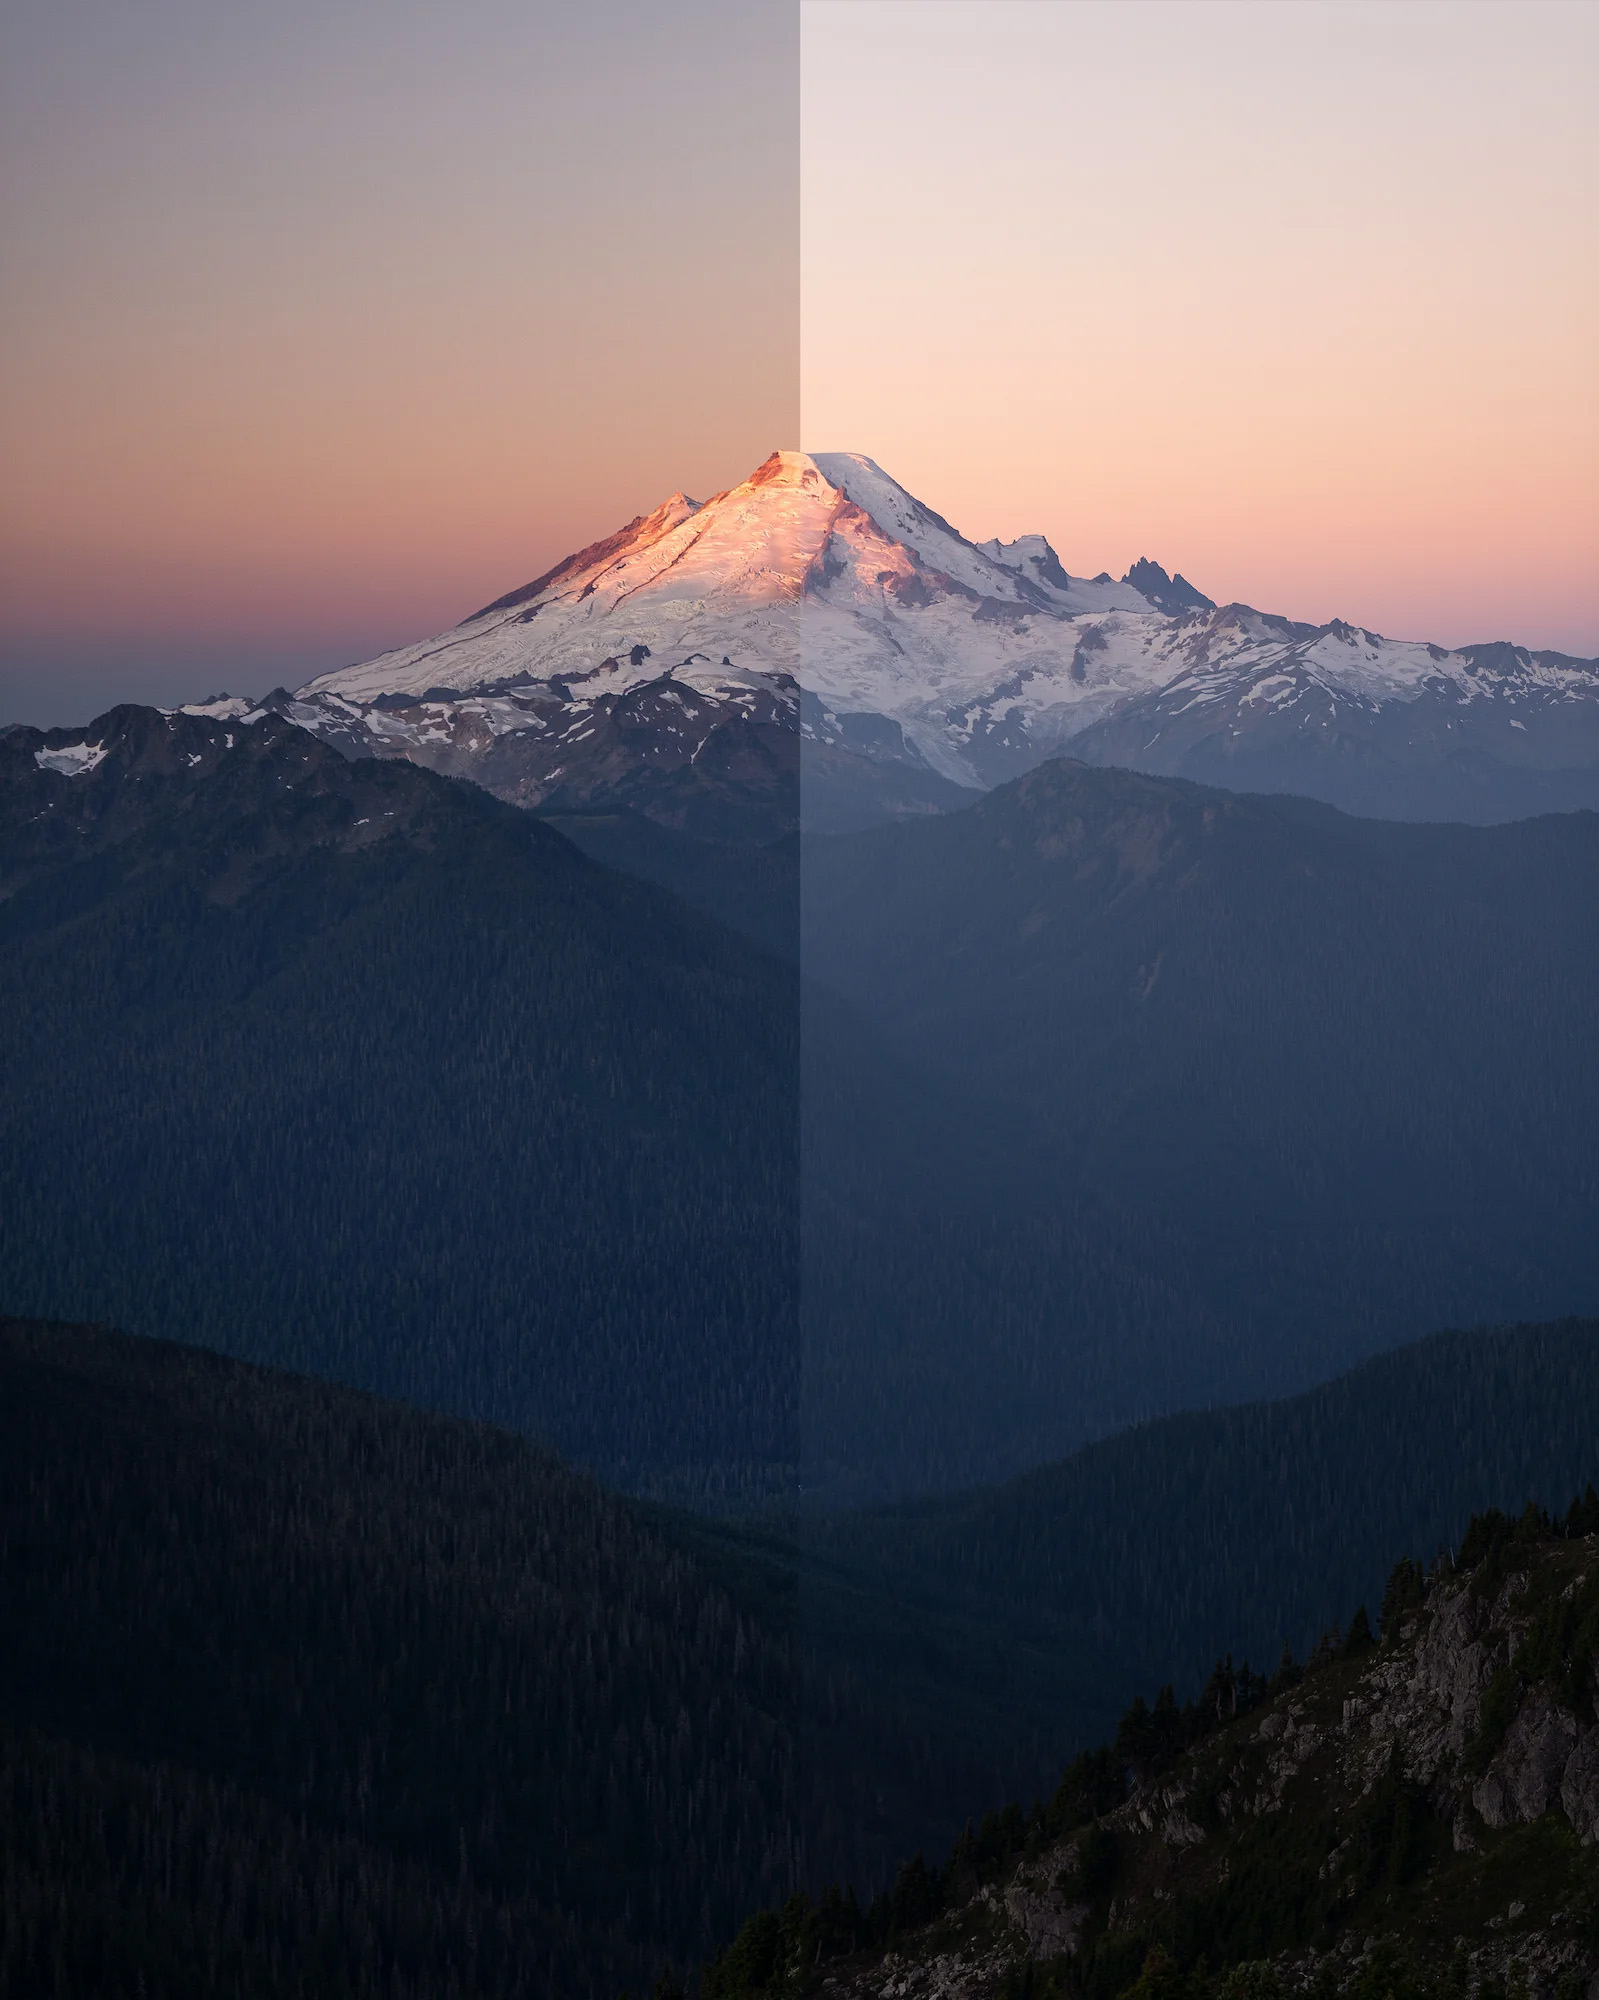 Filter/No Filter Split Photo by Autumn Schrock. Sony Alpha 7R III. Sony 24-70mm F2.8 G Master. 1/160-sec, F2.8, ISO 320
4. Set Up Your Camera For Shooting Landscape Photos
You have all of your gear selected, packed and ready to go…but then you get out to the location and realize you don’t really know what to do next. This is where leading landscape photographer and educator Gary Hart’s tips for setting up your camera come into play. First he says to use a tripod to make sure your camera is steady, so if you didn’t pack one, you might want to return to Tip #3 about choosing your gear wisely.
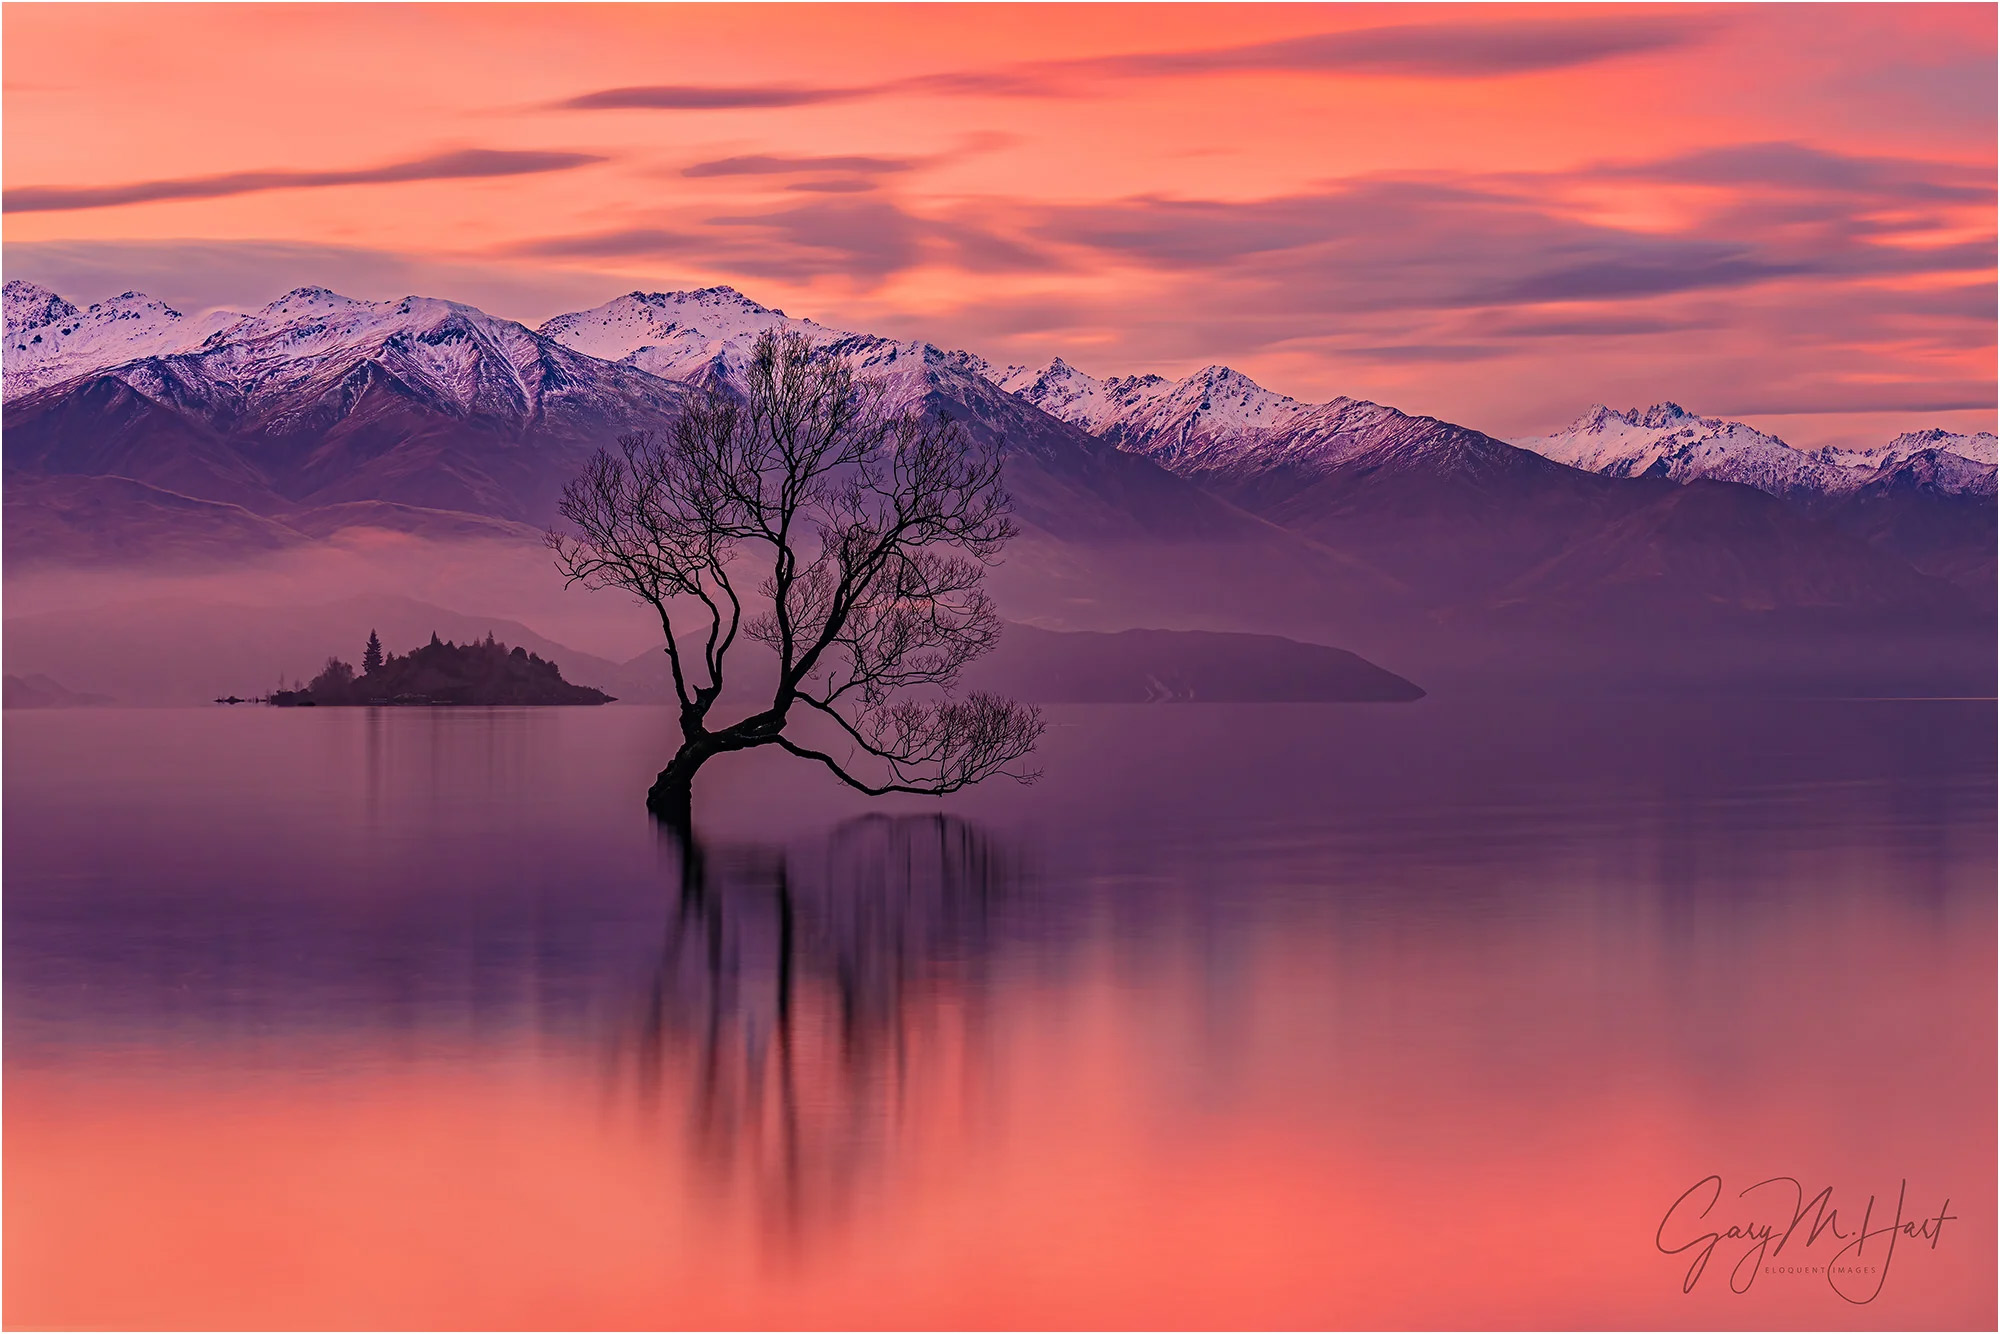 Photo by Gary Hart. Sony Alpha 7RIII. Sony 24-105mm F4 G. 30-secs, F9, ISO 200
Hart’s other tips involve your camera settings, and he likes to set his back-button autofocus so he can seamlessly transition between auto and manual, something he says is important for landscape photographers. He also says to shoot uncompressed RAW to capture as much information as possible to take some of the pressure off when you’re out in the field. “I’m all about increasing my margin for error. In general, when a photographer shoots RAW, they're giving themselves a greater margin for error because they're getting more information. That's number one. But number two, and this is something I don't think people really appreciate completely, is it's easier in the field. You have to make fewer decisions at capture when you're shooting RAW than when you're shooting JPEG.”
He also likes to set one of his custom buttons for Bright Monitoring so he’s easily able to brighten the exposure in his viewfinder/LCD as he’s composing a darker image. You can also customize your Zebra Settings in camera to really ensure you’re getting all of the possible information available in the photograph. Then Hart says to make sure you declutter your Display Screen before hitting the field so it doesn’t clutter up your view as you’re composing your landscape.
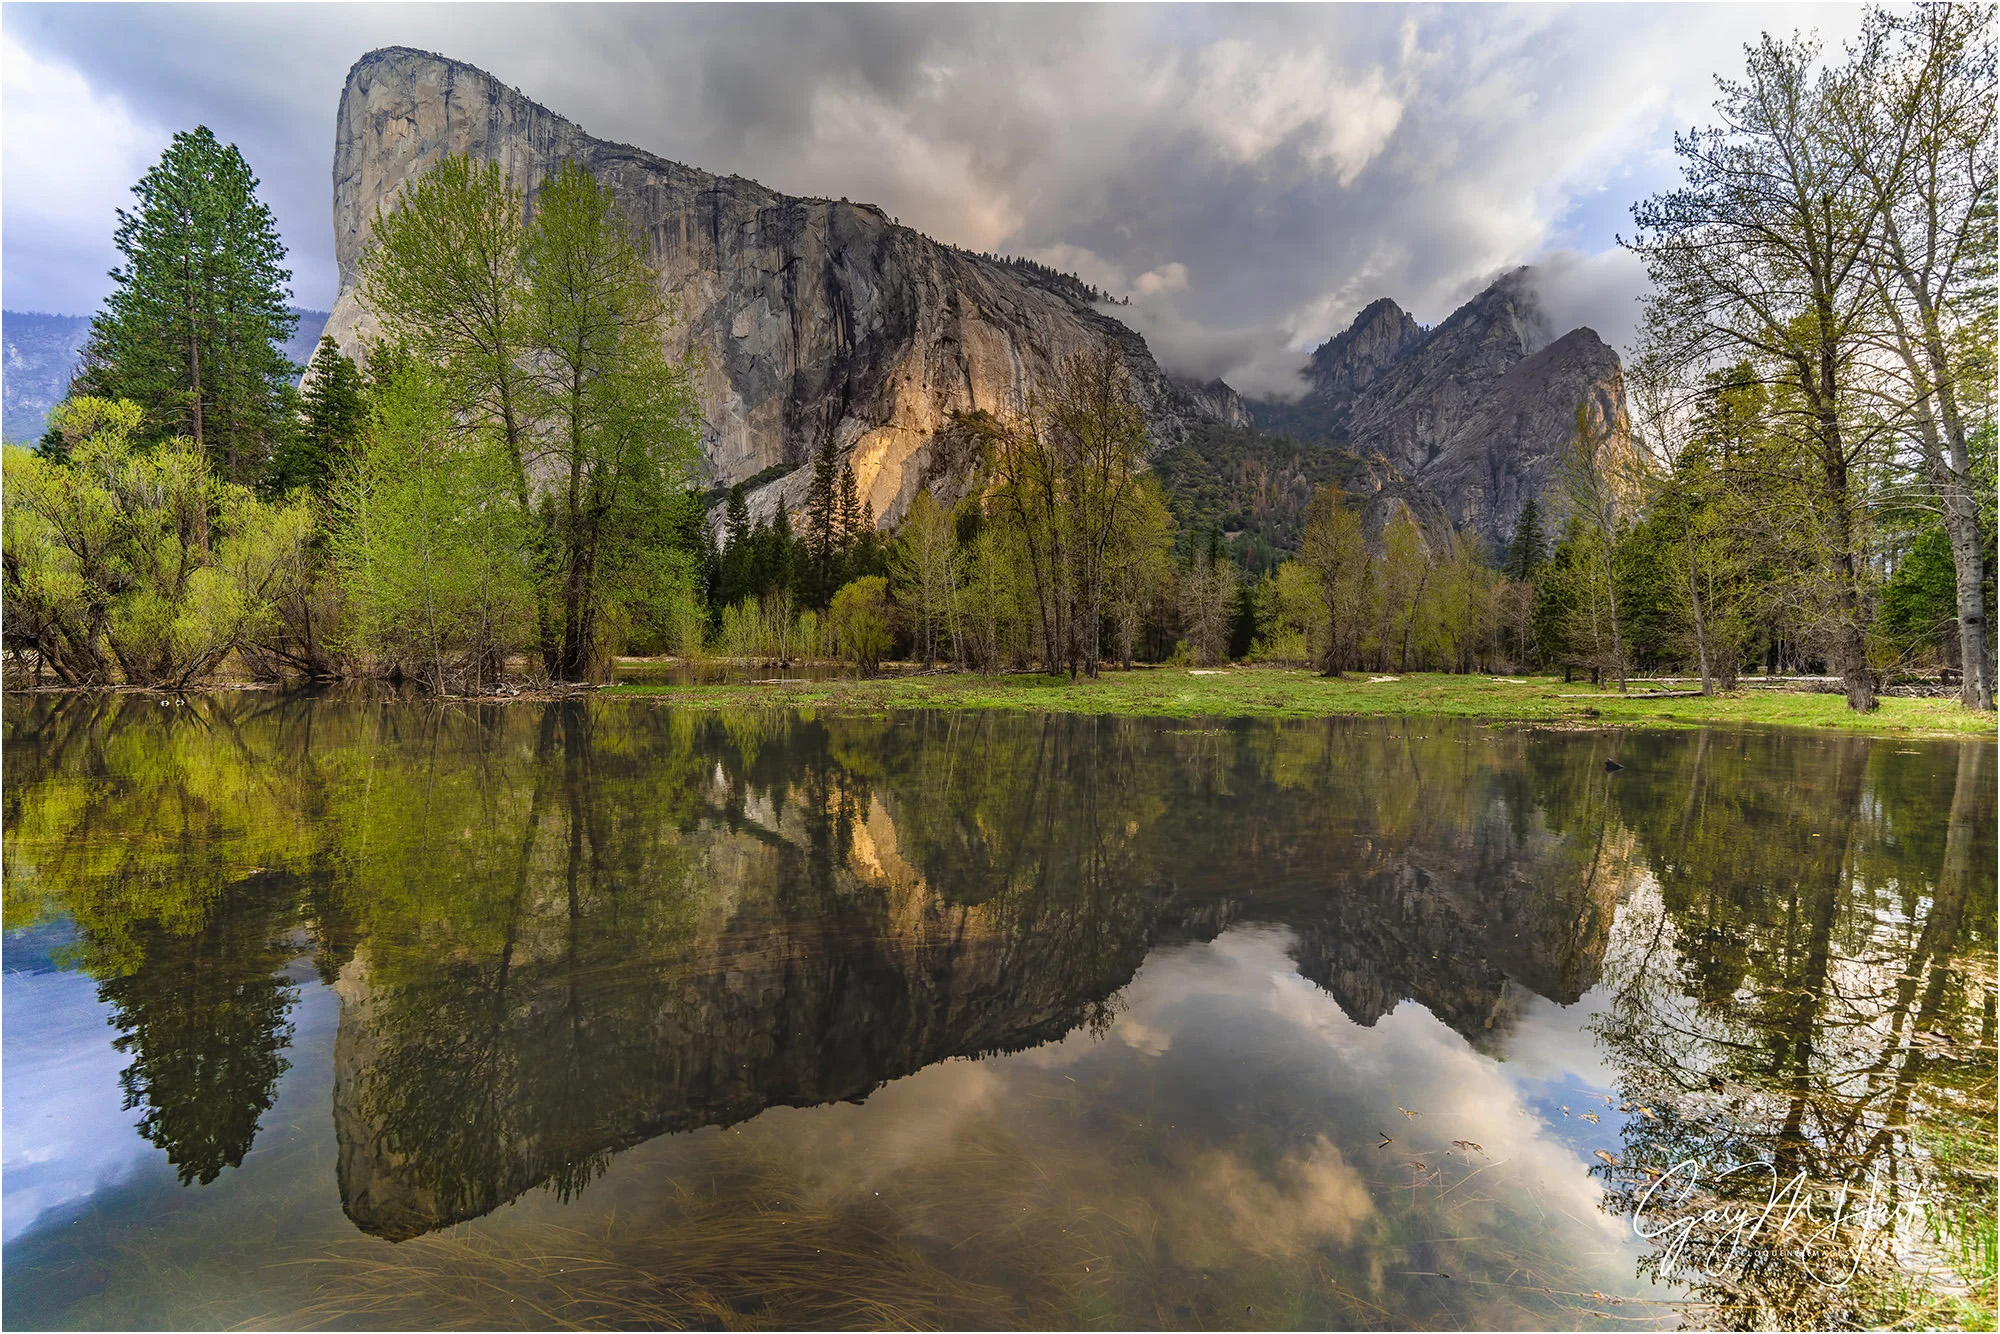 Photo by Gary Hart. Sony Alpha 7RIII. Sony 12-24mm F4 G. 1/125-sec, F10, ISO 100
When setting your ISO for a landscape image, Hart says that when you walk up to the scene, you want your ISO to be at 100, or the absolute best ISO for the camera. “When I say the best, it's the cleanest. There's the least noise and the best information.” He also says that how you want to capture your scene will play a part in determining your aperture, but using between f/8 and f/11 is a good default. Once he has his ISO and aperture set, he controls the amount of light with his shutter speed by using the histogram. When it’s time to take the image, he uses the timer option so the press of the shutter doesn’t disturb the image with vibration.
This article was originally posted on Alpha Universe.